
Troubleshooting
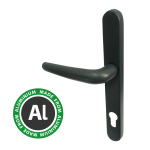
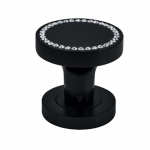
Step #1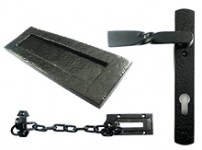 Black Iron Hardware
 Builders Range
 Commercial Range
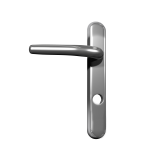
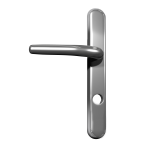
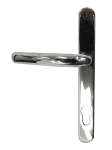
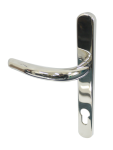
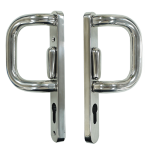
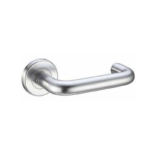
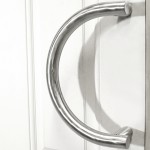
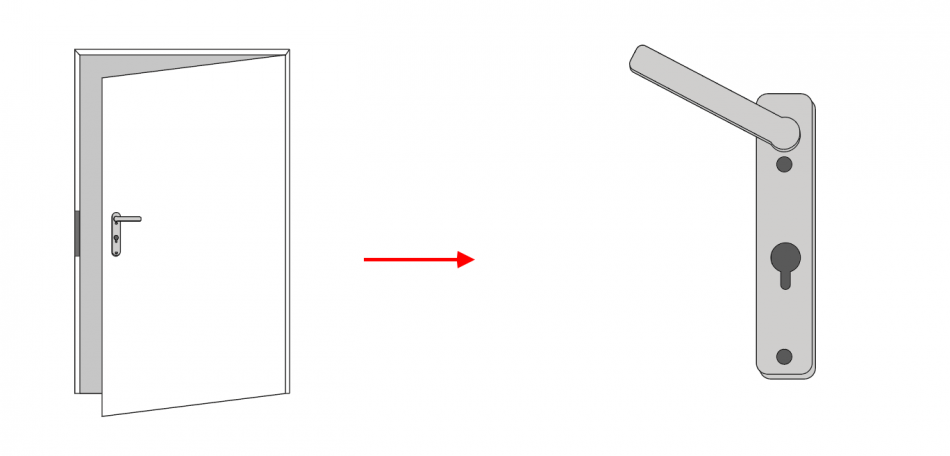
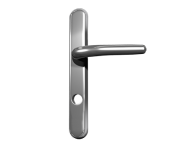 Door Handles
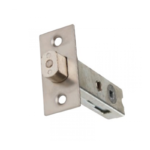
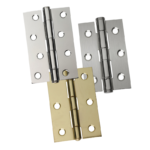
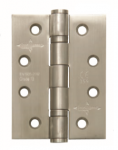
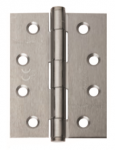
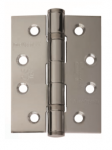
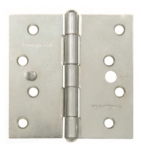
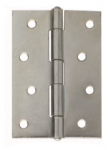
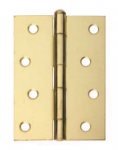
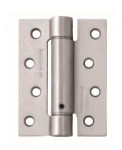
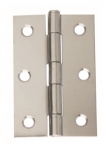
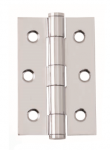
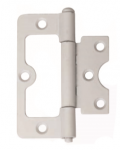
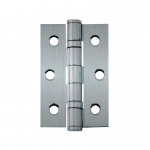
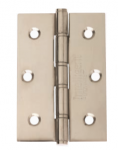
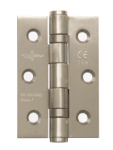
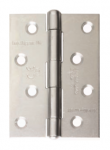
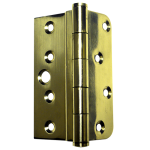
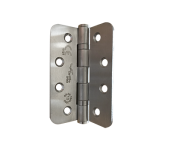 Door Hinges
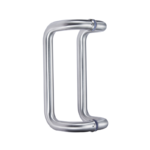
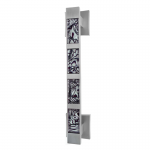
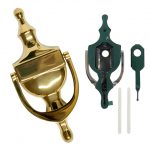
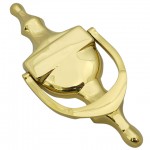
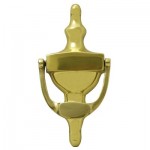
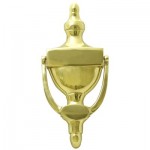
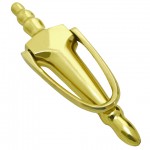
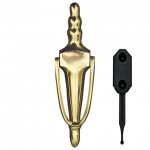
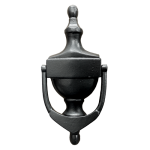
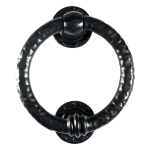
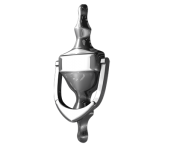 Door Knockers (Urns)
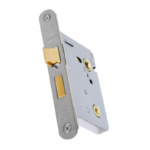
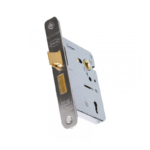
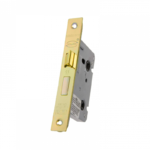
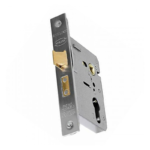
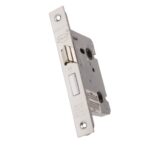
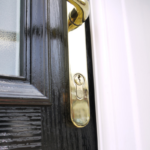
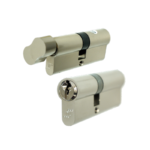
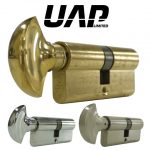
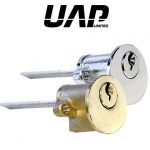
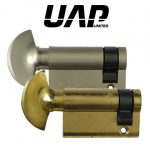
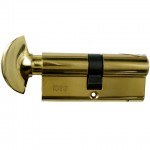
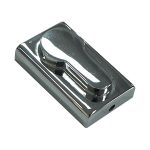
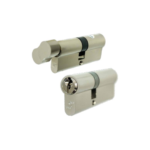
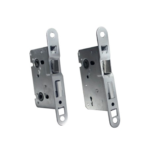
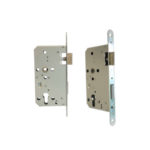
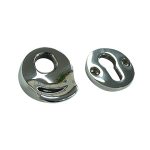
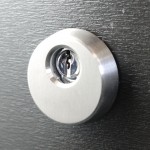
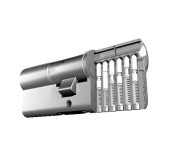 Door Locks and Cylinders
 Door Security
 Fire Resistant Door Hardware
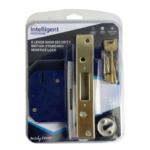
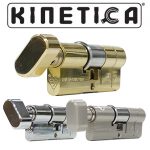
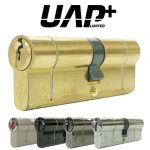
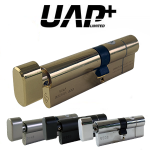
 Intelligent Hardware Locks and Cylinders
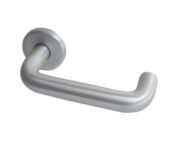
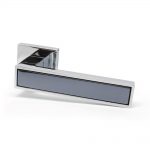
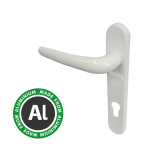
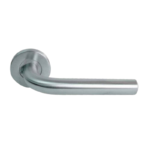
 Internal Door Handles
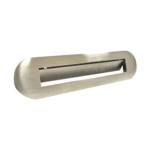
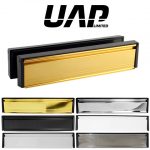
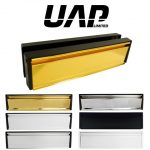
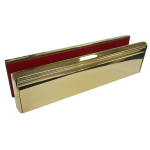
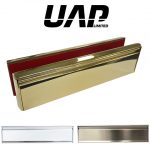
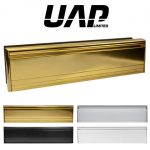
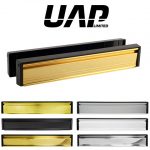
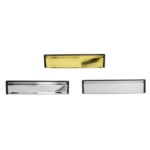
 Letterplates (Letterboxes)
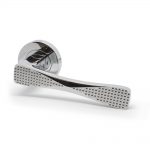
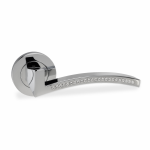
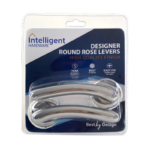
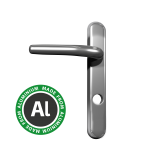
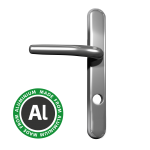
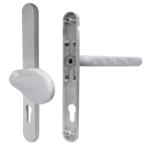
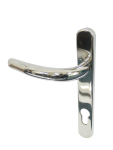
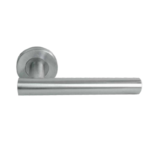
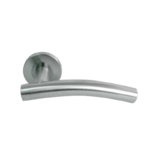
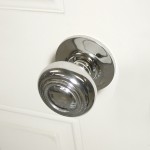
 Lever Door Furniture
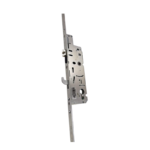
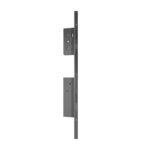
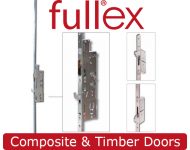
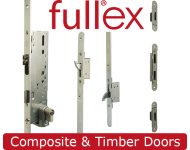
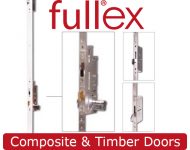
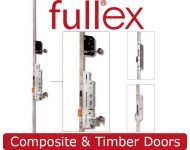
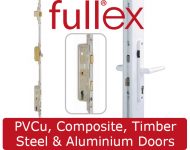
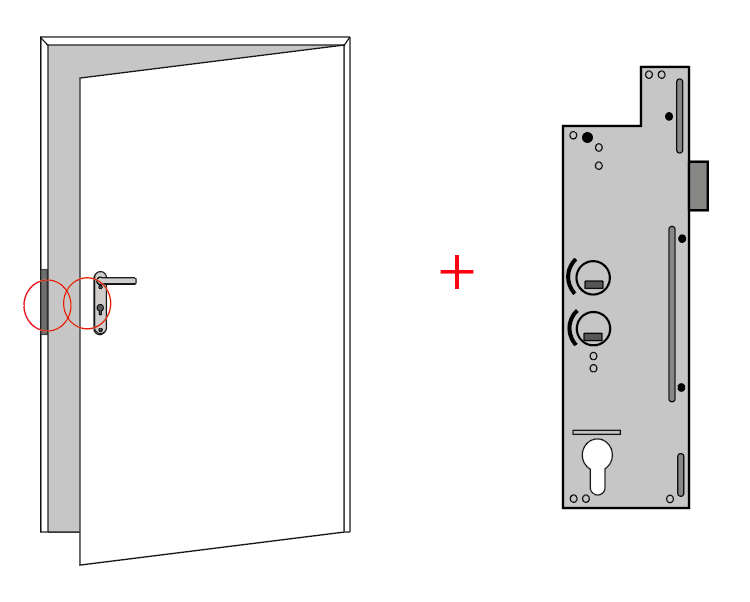
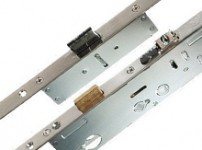 Multi Point Locks
 ORO & ORO Door Furniture
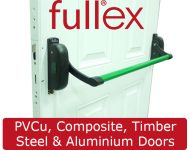
 Panic Hardware
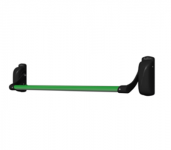
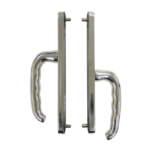
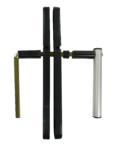
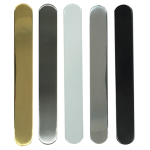
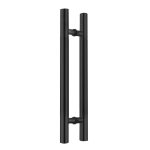
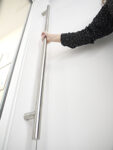
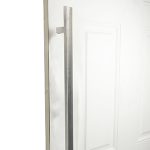
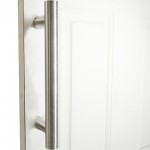
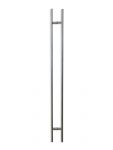
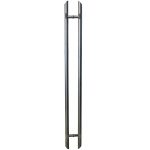
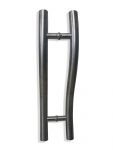
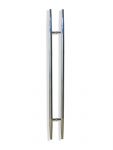
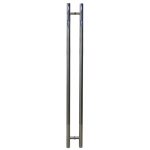
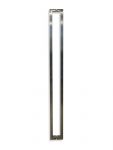
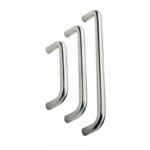
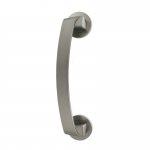
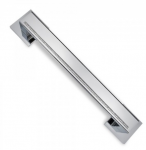
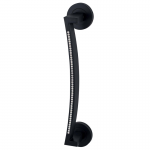
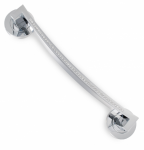
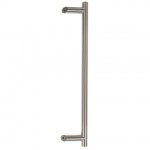
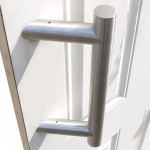
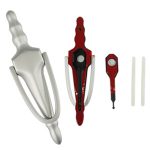
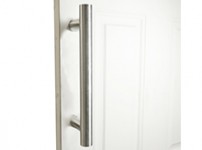 Pull Handles
 Retail Range
 Retail Range Internal Hardware
 Secured by Design Products
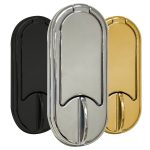
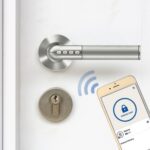 Smart Door Hardware
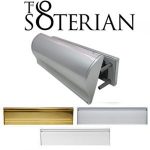
 The Soterian Slim TS008 Certifire Letterplate
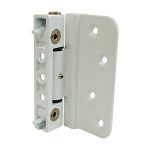
 The Flip Axis Hinge
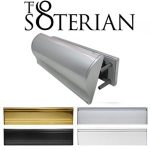
 The Soterian Slim TS008 Letterplate
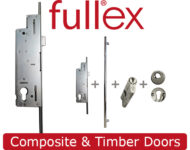
 Flexi Lock by Fullex
 IONIC Electronic Lock by Fullex-ai
 Fullex Patio Interlock
 Fullex Key Wind Multi Point Lock
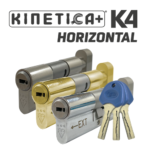 Kinetica+ K4 Horizontal Helix Thumb Turn 3* Kitemarked Euro Cylinder
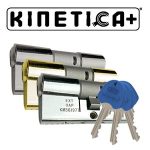
 Kinetica+ K4 Horizontal 3* Kitemarked Euro Cylinder
 Kinetica+ K4 Helix Thumb Turn 3* Kitemarked Euro Cylinder
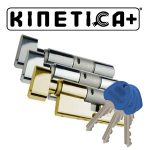
 Kinetica+ K4 3* Kitemarked Euro Cylinder
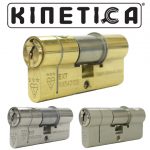
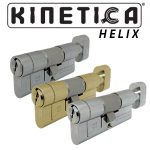 Kinetica HELIX Thumb Turn 3* Kitemarked Euro Cylinder
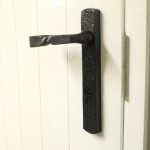 Black Iron Front Door Handle with 219mm Backplate
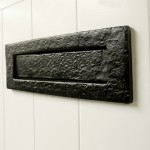 Black Iron Letterplate
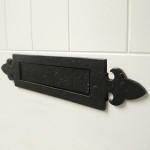 Black Iron Fleur de Lys Letterplate
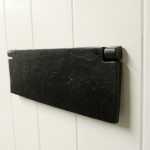 Black Iron Internal Letterplate Tidy Plain
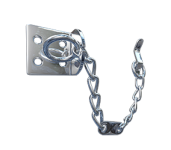
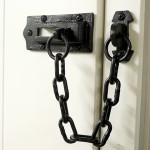 Black Iron Door Chain
 The Soterian Inward-Opening Letterplate
 The Soterian TS008 Stainless Steel Letterplate
 The Soterian TS008 Letterplate
 UAP Framemaster 12 Inch Stainless Steel Letterplate
 UAP Petitemaster 10 Inch Stainless Steel Letterplate
 UAP Heavy Duty All Stainless Steel 12 Inch Fire Resistant Letterplate
 UAP All Stainless Steel 12 Inch Letterplate
 UAP All Aluminium 12 Inch Letterplate
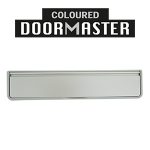 UAP 12 Inch COLOURED DOORMASTER Letterplate
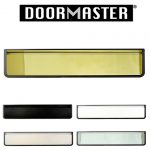 UAP 12 Inch DOORMASTER Letterplate
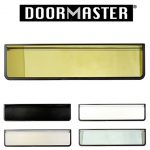 UAP 10 Inch DOORMASTER Letterplate
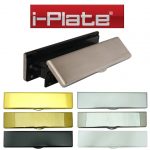 UAP 12 Inch iPlate Stainless Steel Letterplate
 UAP 12 Inch Slimline Stainless Steel Letterplate
 The Soterian TS008 Certifire Letterplate
 UAP All Aluminium 12 Inch Fire Resistant Letterplate
 UAP All Stainless Steel 12 Inch Fire Resistant Letterplate
 Retail Range UAP Framemaster 12 Inch Fire Resistant Stainless Steel Letterplate
 UAP Framemaster 12 Inch Fire Resistant Stainless Steel Letterplate
 Fullex Slam Shut Autolock
 Intelligent Hardware Retail Range Mortice Lock
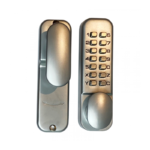 Intelligent Hardware Mechanical Digital Lock – No Holdback – Blister Pack
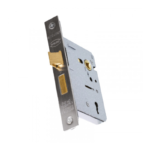
 Intelligent Hardware FB2 Mortice Dead Lock
 Intelligent Hardware FB1 Mortice Dead Lock
 Intelligent Hardware Retail Range Door Lock
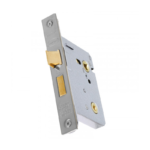 Intelligent Hardware Classic 51.07 65mm 3L Sash Lock
 Intelligent Hardware Classic 51.05 65mm 3L Sash Lock
 Intelligent Hardware Classic 51.07 65mm 3L Sash Lock – Radius
 Intelligent Hardware Classic 51.06 65mm 3L Sash Lock – Radius
 Intelligent Hardware 54.05 Heavy Duty Bathroom Lock
 Intelligent Hardware Bathroom Deadbolt – Blister Pack
 Intelligent Hardware 51.08 Light Duty Euro Lock Case
 Intelligent Hardware Bathroom Locks
 Fullex XL Multi Point Lock
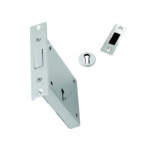
 Direct Fix Double Door Lock
 Fullex XL Crimebeater Multi Point Lock
 Fullex Crimebeater 220 Pro Multi Point Lock
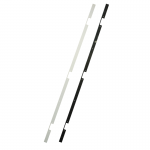 Fullex Hinge Plates
 Fullex Crimebeater Multi Point Lock
 Fullex Crimebeater Midlock Multi Point Lock
 Fullex uPVC Universal Repair Lock
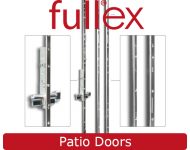 Fullex Patio Door Lock
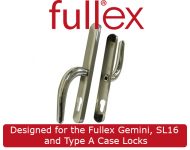 Fullex Gemini 68mm Door Handle
 Fullex Gemini Double Door Locking System
 Fullex SL16 Multibolt Multi Point Lock
 Fullex XL Exodus Panic Exit System
 Kinetica Double 3* Kitemarked Euro Cylinder
 MILOS 100 Cylinder
 MILOS 600 3* Cylinder
 MILOS 600 Cylinder
 MILOS 900 Cylinder
 Kinetica Child Safe Thumb Turn 3* Kitemarked Euro Cylinder
 Retail Range UAP+ Double 1* Kitemarked Euro Cylinder
 UAP+ High Security Double 1* Kitemarked Euro Cylinder
 UAP+ High Security Thumb Turn 1* Kitemarked Cylinder
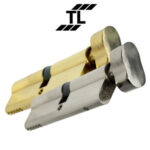
 TL Budget Double Euro Cylinder
 Firemongery General Range Cylinders
 TL Budget Thumb Turn Euro Cylinder
 Red Triangle Accessible Thumb Turn Lever Grip
 ZL ACCESS Thumb Turn Extension
 UAP Standard Security Thumb Turn 1* Kitemarked Cylinder
 UAP Rim Cylinder
 UAP High Security 1* Kitemarked Euro Half Cylinder
 UAP Standard Security 1* Kitemarked Euro Half Cylinder
 UAP Standard Security Thumb Turn Half Cylinder
 1* Kitemarked UAP Push-2-Turn Thumbturn Euro Cylinder
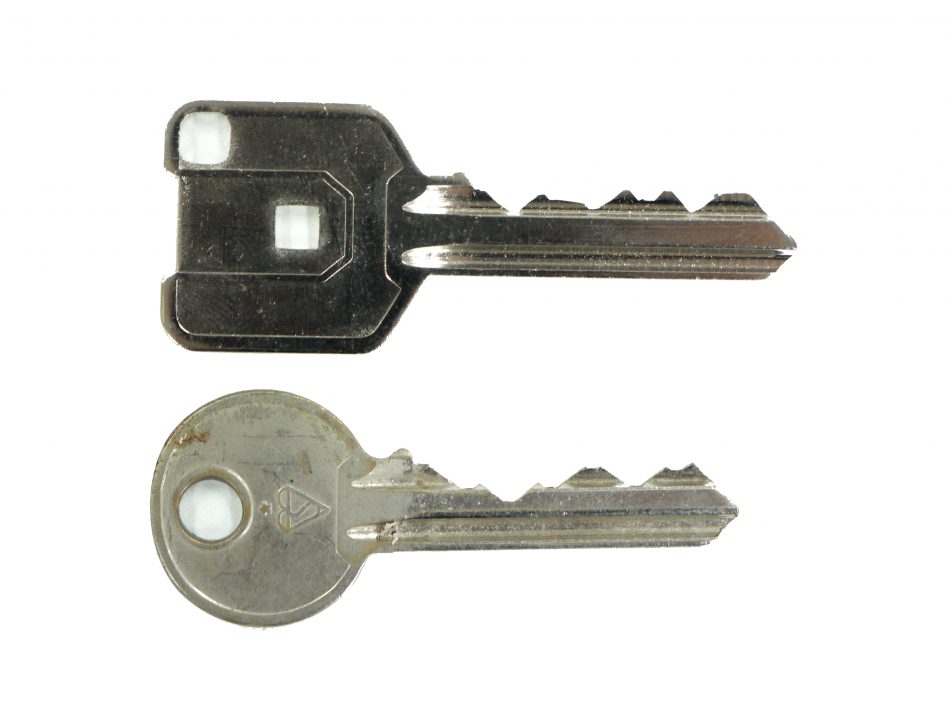
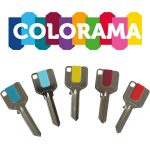 Colorama Key Blanks – Customised Key Clips
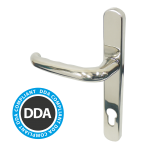
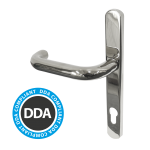
 UAP DUO 243mm Split Spindle Stainless Steel Door Handle – DDA/EA compliant
 UAP DUO 243mm Aluminium Door Handle – DDA/EA compliant
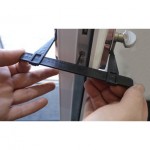 UAP Cylinder Gauge
 Adapt A Lever
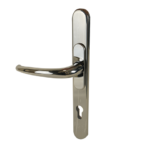
 UAP High Security 219mm Stainless Steel Door Handle
 UAP High Security 243mm Stainless Steel Door Handle
 UAP High Security 219mm Signature Door Handle
 UAP High Security 243mm Signature Door Handle
 UAP 243mm Signature Door Handle
 UAP 243mm Split Spindle Pad Door Handle
 UAP 243mm Pad Door Handle
 UAP 219mm Standard Door Handle
 UAP 243mm Temporary Door Handle
 UAP 219mm Aluminium Signature Door Handle
 UAP 243mm Aluminium Signature Door Handle
 UAP Stainless Steel Door Handle 219mm
 Intelligent Hardware Retail Range External Handle
 UAP DDA/EA Compliant 243mm Door Handle
 UAP Stainless Steel Patio Door Handle 219mm
 UAP Plug Blanks and Fixing Plate
 UAP Nanocoast Patio Blanking Plates
 UAP Slim Black Pull Handle
 UAP D-Shaped Pull Handle
 UAP Straight Pull Handle (Slim)
 UAP Straight Square Pull Handle
 UAP Straight Pull Handle
 Designer Slim Handle
 Triumph Pull Handle
 Wave Pull Handle
 Spear Pull Handle
 Aura Pull Handle
 Quad Pull Handle
 Tiger Pull Handle on Square Rose
 Commercial Range Cylinders
 Commercial Range Lockcases – UK Style
 Commercial Range Lockcases
 Commercial Range Pull Handles
 19mm Dia T Shaped Lever on Rose
 19mm Dia Arched T Lever on Rose
 19mm Dia RTD Lever on Sprung 10mm Rose
 Dia RTD Lever on Round Rose
 Vertigo Pull Handle
 Quattro Swarovski Pull Handle
 Special Edition Black Azore Pull Handle
 Azore Pull Handle
 Quattro Swarovski Mortice Knob Handle
 Special Edition Black Azore Mortice Knob Handle
 Azore Mortice Knob Handle
 UAP Offset Pull Handle (Slim)
 UAP Offset Pull Handle
 UAP D Shaped Pull Handle
 UAP Stainless Steel Door Knob
 UAP Escutcheon
 UAP High Security Escutcheon with Pull Feature
 UAP High Security Escutcheon
 UAP 3D Adjustable Composite Door Hinge
 UAP Fire Rated Door Hinges
 Intelligent Hardware Retail Range Hinges
 Intelligent Hardware Stainless Steel Ball Bearing Butt Hinge
 Intelligent Hardware Strong Steel Button Tipped Hinge
 Intelligent Hardware Mild Steel Ball Bearing Butt Hinge
 Intelligent Hardware Fixed Pin Strong Butt Hinge
 Intelligent Hardware Steel Fixed Pin Butt Hinge
 Intelligent Hardware Button Tipped Hinge
 Intelligent Hardware Steel Loose Pin Butt Hinge
 Intelligent Hardware Single Action Adjustable Spring Hinge
 Intelligent Hardware Steel Fixed Pin Butt Hinge 75mmx49mm
 Intelligent Hardware Steel Loose Pin Butt Hinge 75mmx49mm
 Intelligent Hardware Steel Button Tipped Hinge 75mmx50mm
 Intelligent Hardware Steel Loose Pin Hurl Hinge
 Intelligent Hardware 2 Ball Bearing 75mm x 50mm Butt Hinge
 Intelligent Hardware Stainless Steel Washered Butt Hinge
 Intelligent Hardware Stainless Steel Ball Bearing Butt Hinge 50mmx75mm
 Intelligent Hardware Strong Steel Butt Hinge
 UAP 2D Stainless Steel Composite Door Hinges
 Stadium Door Knocker
 8 Inch Victorian Urn Slimline Door Knocker With Universal fixing
 6 Inch Victorian Urn Stainless Steel Door Knocker with Universal Fixing
 Intelligent Hardware Retail Range Door Knocker
 6 Inch Victorian Urn Hidden Fix Stainless Steel Door Knocker
 5 Inch Victorian Urn Bolt Fix Door Knocker
 8 Inch Victorian Urn Bolt Fix Door Knocker
 8 Inch Slimline Victorian Urn Bolt Fix Door Knocker
 8 Inch Victorian Slimline Urn Hidden Fix Door Knocker
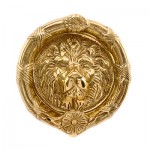
 Large Lions Head Door Knocker
 Small Lions Head Door Knocker
 6 inch Lions Head Round Door Knocker
 Signature Victorian Scroll Door Knocker
 Oval Georgian Scroll Door Knocker
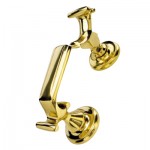 Large Traditional Doctor Door Knocker
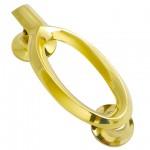 Modern Oval Door Knocker
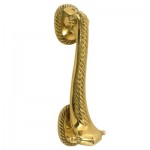
 Ponytail Door Knocker
 6 Inch Black Iron Victorian Urn Door Knocker
 6 Inch Black Iron Lion’s Head Door Knocker
 2 Piece Black Iron Lion’s Head Door Knocker
 Black Iron Round Door Knocker
-
Usually this is due to the door dropping.
-
Check the hinges to see if they are adjustable, if they are then adjust them to lift the door back up.
-
If this isn’t possible, then worst case scenario lower the keeps just a tad.
-
Still having a problem?
-
This could be that the latch has failed in which case you would need a new gearbox.
-
But firstly check that the latch isn’t trapped or the handles aren’t too tight as this can keep the latch retracted.
-
The door may just need a simple centre keep adjustment as the latch isn’t catching on the keep when the door is being closed.
-
Still having a problem?
-
This sounds like either a hook or the gearbox has failed.
-
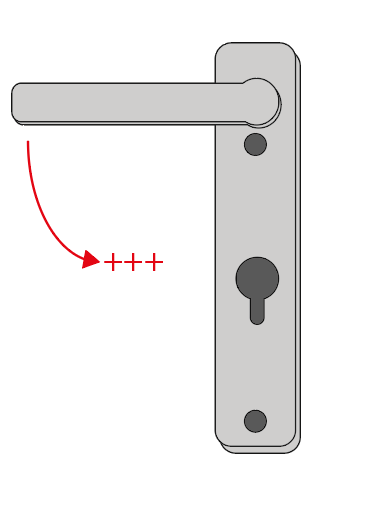
You can gently try to pull the handle down and increase pressure.
-
Or try lifting the door up whilst pulling the handle down in case the door has dropped.
-
If none of these options work, you will need a locksmith.
-
Still having a problem?
-
This could be as simple as loosening the screws on the handles as a lot of fitters use power tools and over tighten screws.
-
Still having a problem?
-
Check the operation of the mechanism once not fitted in the door as it could be a simple fitting error (screws offset, handles too tight, spindle is too short).
-
It could be that the gearbox on the mechanism is slightly out and the deadbolt is getting trapped behind the faceplate.
-
Take the full mechanism out of the door, loosen the screws to the centre gear box, align it correctly with the faceplate, tighten the screws back up. Test before fitting back into the door.
-
This could also be one of the top/bottom of the mechanism’s deadbolts/hooks.
Take off the top or bottom hook/bolt then try the handle.
If this does not work, take the second hook/bolt off etc
-
Still having a problem?
Or the handle is extremely stiff to pull up
-
Open the door then pull the handle up
-

If it’s easy and smooth, then the issue will be the alignment of the keeps – most of the time it is usually just one keep that requires adjustment.
-
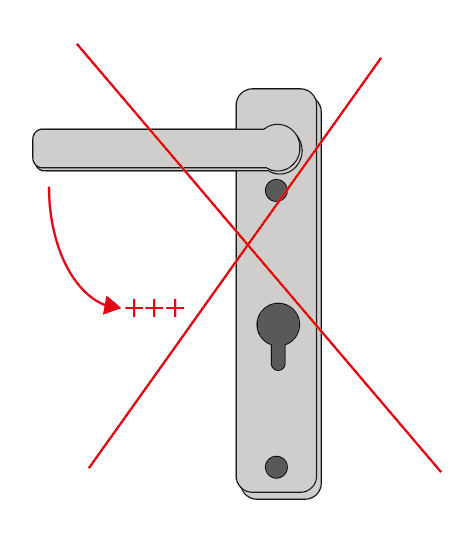
Check the handles are not on too tight.
-
Still having a problem?
-
All UAP pull handles are made from premium marine grade stainless steel and come with a LIFETIME COATING GUARANTEE.
To maintain this product’s appearance, simply wipe over with a lemon based very mild soap solution and a soft cloth once a month or every 2 weeks in areas of high sea salt such as coastal areas.
-
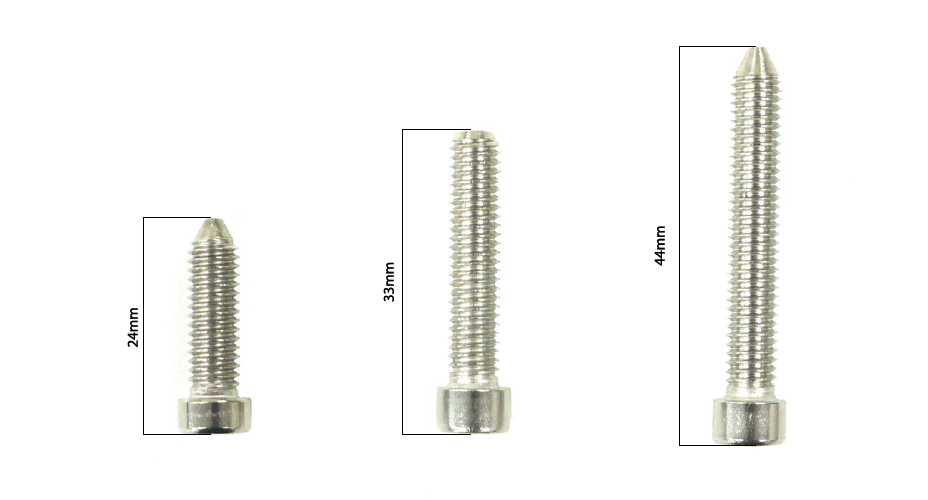
Size: 24mm: STANDARD – With all letterplates. Suitable for 44mm doors
Size: 33mm: ADDITIONAL SCREWS – For all 54mm doors
Size: 44mm: SPECIAL ORDER – Only for 58mm doors
-
Still having a problem?
-
Fire resistant letterplate is lined with special intumescent material which expands to 50 times its size, blocking the hole in the cavity and preventing smoke coming through the cavity.
-
Regular (non fire resistant) letterplate doesn’t have any additional lining fitted.
-
Standard, non fire resistant TS008 letterplate doesn’t consist of an intumescent lining.
-
30 min Composite door TS008 letterplate features an intumescent lining all around the letterplate sleeve and bolts. This material has the ability to expand to 50 times its volume in order to seal any gaps in the door hardware.
-
30 min Timber door TS008 letterplate features an intumescent lining only on the long sides of the letterplate sleeve and bolts.
-
1 hour Timber door TS008 letterplate features an intumescent lining on the long sides of the letterplate sleeve, bolts and also have an additional extension piece included.
-
Still having a problem?
The easiest and most accurate way to measure a Euro cylinder is to use a cylinder gauge, which can be purchased here. However if you do not want to use to gauge, it is still possible to measure what size cylinder you need with a tape measure or ruler. Watch our step-by-step video showing how to measure a Euro Cylinder Lock.
-
Still having a problem?
Watch our step-by-step video showing how to replace a letterbox using UAP's iPlate letterplate.
-
Still having a problem?
Watch our step-by-step video showing how to change a Euro cylinder Lock.
-
Still having a problem?
How to set up the mobile app designed for the Ionic electronic lock.
-
Setting up the app
-
Still having a problem?
How to change the name of your locks connected to the Ionic lock app.
-
Rename your locks and editing settings.
-
Still having a problem?
-
How to add additional locks to your Ionic mobile app. You can have multiple Ionic electronic locks that you can manage via the app.
-
Still having a problem?
-
How to add and delete users on the Ionic electronic lock.
-
Still having a problem?
How to add fobs to use with the Ionic lock via the app.
-
Adding a fob.
-
Still having a problem?
-
How to manage users on the app and see who’s accessed the lock.
-
Still having a problem?
-
Gently wash the letterplate with a mild soap solution twice a year to remove any dirt and grit that may build on the surface.
-
Still having a problem?
-
To maintain this product’s appearance, simply wipe over with a lemon based very mild soap solution and a soft cloth once a month or every 2 weeks in areas of high sea salt such as coastal areas.
-
Gently wipe the door knocker with a moist cloth every month to remove dust particles.
-
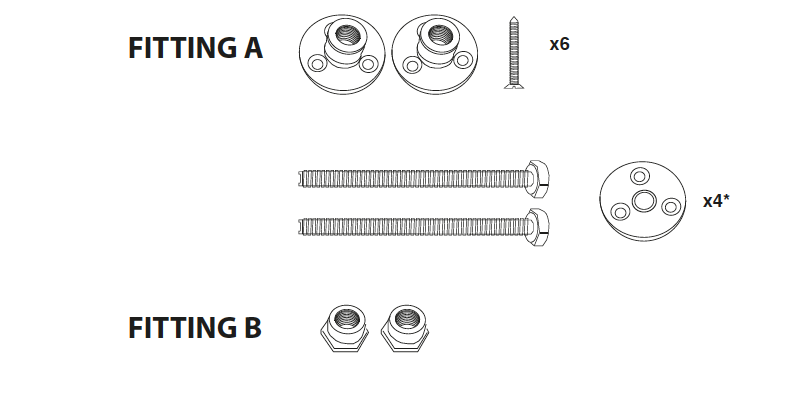
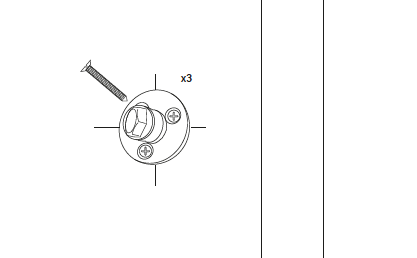
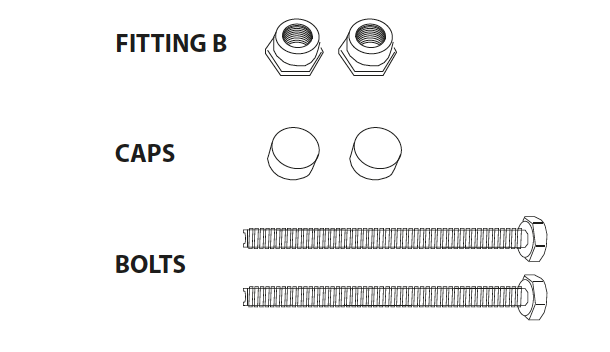
To start check if you have all necessary fixing parts and bolts.
* For Glass Fittings
-
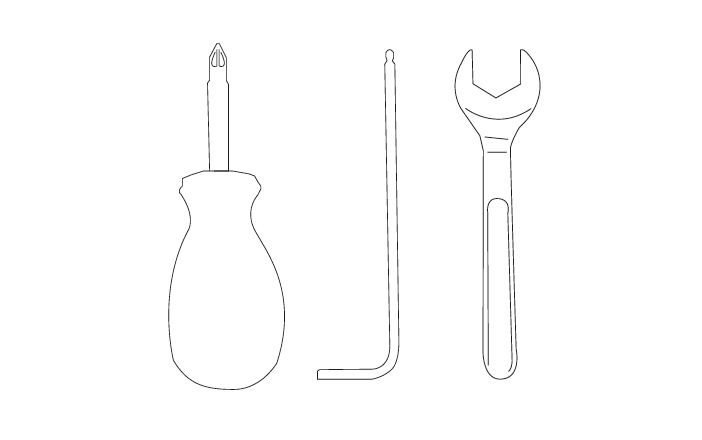
To fit your pull handle using the back to back fixing method you will require a screwdriver, an Allen key for grub screws and a spanner.
-
Suitably line the holes up to where the handle will be fitted on the door making sure it is straight (refer to page 1, tech sheet, for centres) and make 2 holes in the door where you have marked.
-
Take ‘fitting B’ and screw it into 1 of the handles at both the top and the bottom (as shown in diagram 2.) NOTE: This handle will be used on the external side of the door.
-
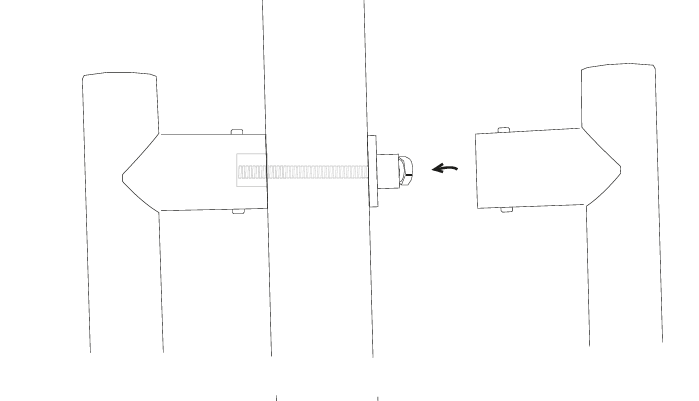
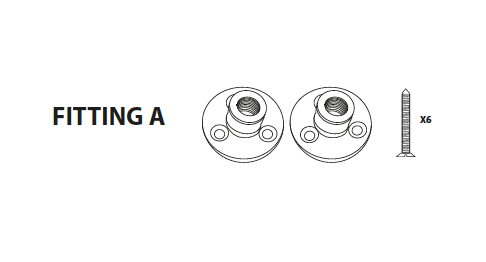
Take the 2x bolts and screw them into ‘fitting A’ all the way (as shown in diagram 3).
-
Line the external handle up with the holes and screw the bolts into ‘fitting B’ by inserting them through each hole, from the other side of the door.
-
Screw ‘fitting A’ to the door at both the top and the bottom using 3 screws in each, securing the fitting to the back of the door.
-
Put the second handle on the back of the door onto each ‘fitting A.’
-
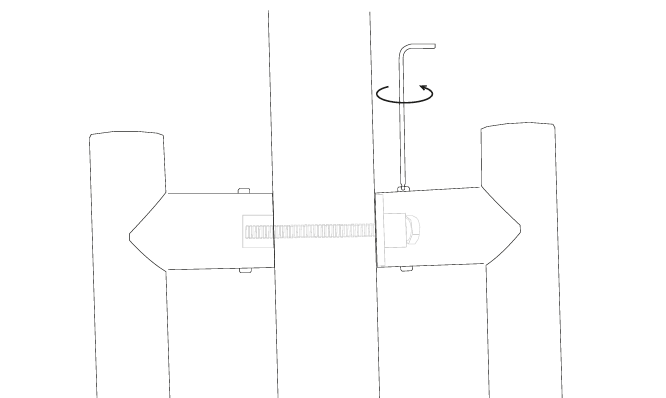
Tighten the grub screws to secure.
-
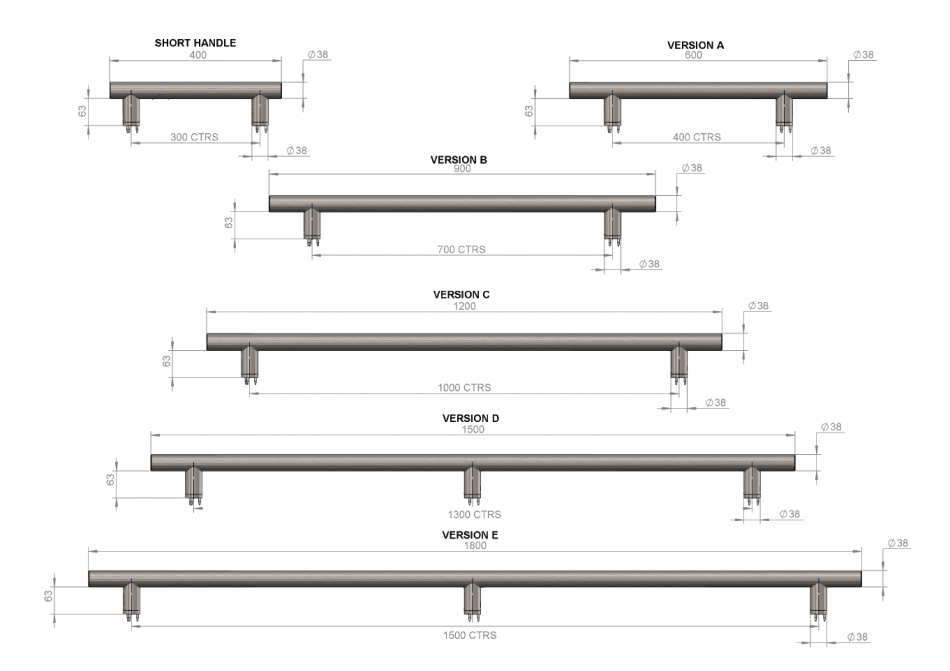
Pull handles centres details:
400mm Pull Handle – 300 CTRS
600mm Pull Handle – 400 CTRS
900mm Pull Handle – 700 CTRS
1200mm Pull Handle – 1000 CTRS
1500mm Pull Handle – 1300 CTRS
1800mm Pull Handle – 1500 CTRS
-
To start check if you have all necessary fixings.
-
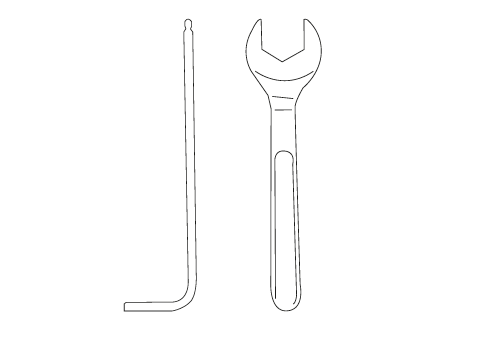
To fit your pull handle using the bolt through fixing method you will require an Allen key for grub screws and a spanner.
-
Suitably line the holes up to where the handle will be fitted on the door making sure it is straight (Refer to page 1, tech sheet, for centres) and make 2 holes in the door where you have marked.
-
Take ‘fitting B’ and screw it into the handle, both at the top and the bottom (as shown in diagram 3).
-
Place it in position on the door, so that each ‘fitting B’ lines up with the holes.
-
Take 2x bolts and from the other side of the door put 1 through the hole at the top into ‘fitting 2’ and screw it in tightly. Do the same at the bottom.
-
Put the cap on the bolt at the back of the door.
-
Screw the grub screws up tightly to secure the fitting.
-
Check if you have appropriate fixings.
-
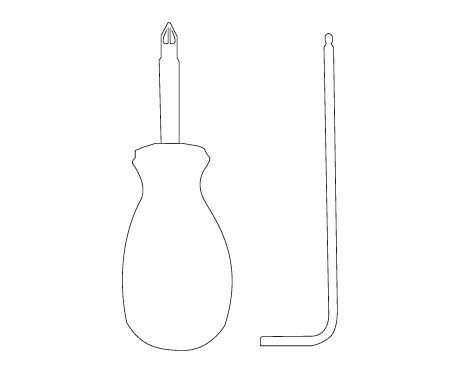
To fit your pull handle using the hidden fix (one side only) method you will require a screwdriver and an Allen key for grub screws.
-
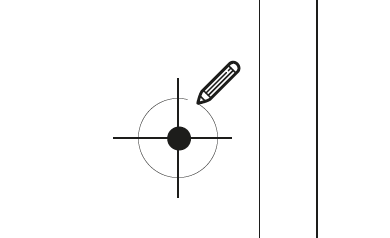
Suitably line the holes up to where the handle will be fitted on the door, making sure it is straight. (Refer to page 1, tech sheet, for centres)
-
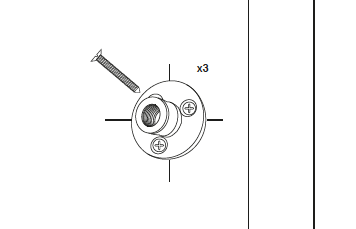
Using the 3 screws provided, screw ‘fitting A’ to the door where you have marked, one on the top marking and one on the bottom. Make sure it is secure.
-

Simply fix the handle onto the 2 fittings that are now securely on the door.
-
Tighten the grub screws at both the top and bottom fixing the handle to ‘fitting A’
-
NOTE: If using this as an external handle, secure it by drilling out the grub screw head.
-
Still having a problem?
-
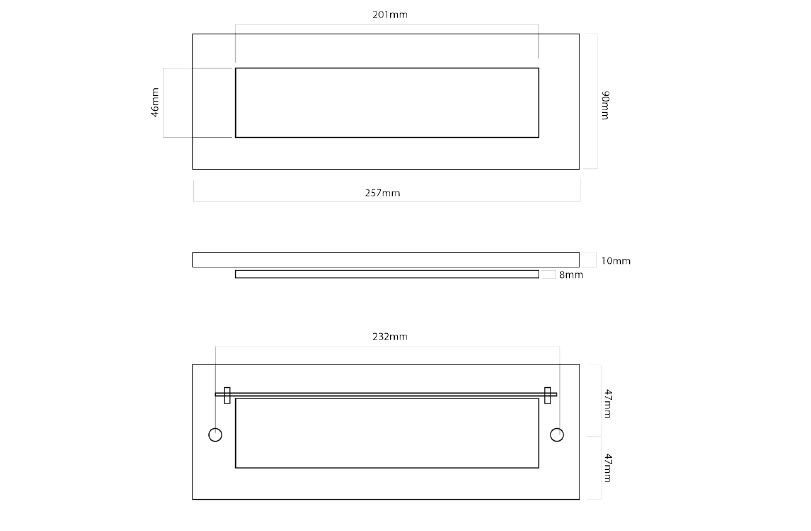
Length: 257mm
Wide: 90mm
Thickness: 18mm
Distance between bolts: 232mm
-
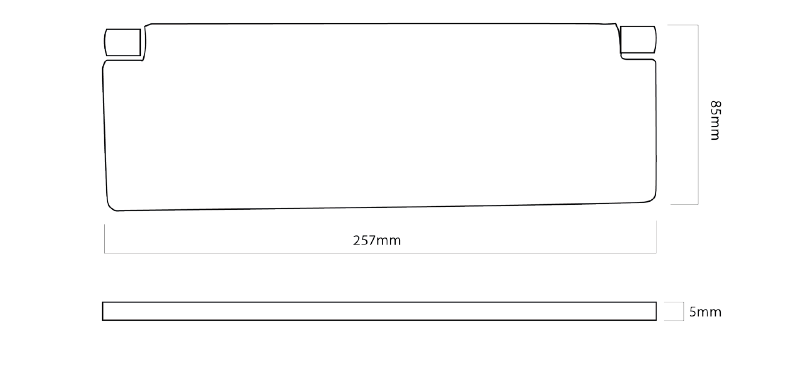
Length: 257mm
Wide: 85mm
Thickness: 5mm
-
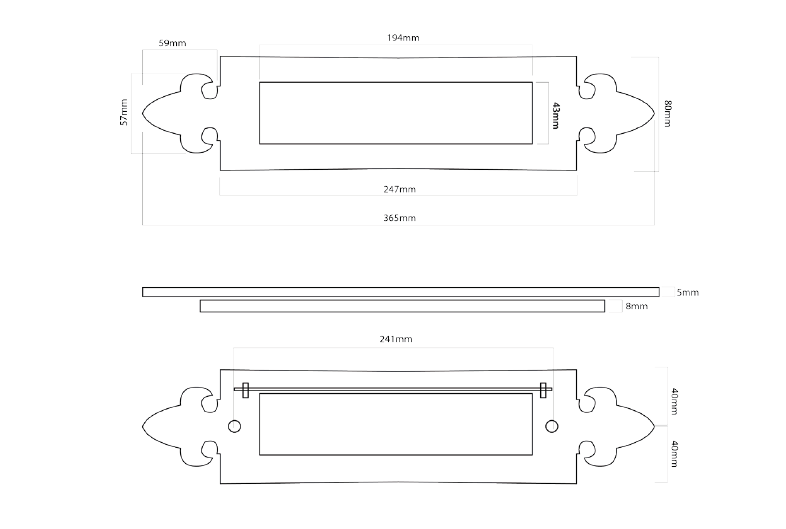
Length: 365
High: 80
Thickness: 13mm
Distance between bolts: 241mm
-
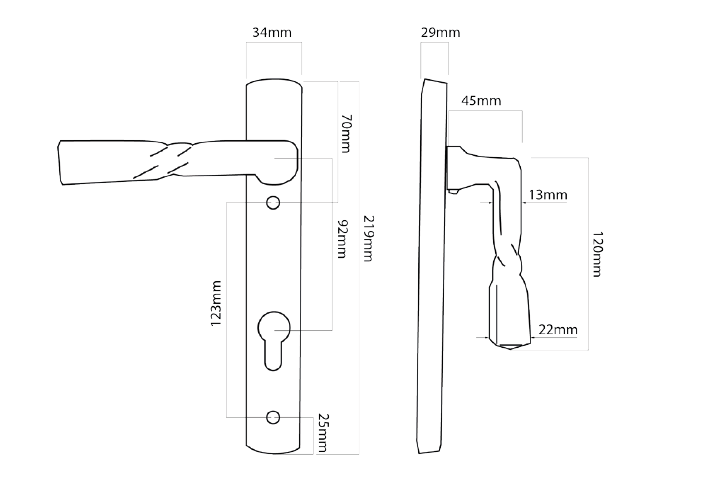
Black iron door handle has 219mm short backplate and is 34mm wide.
Distance between bolts is 123mm.
-
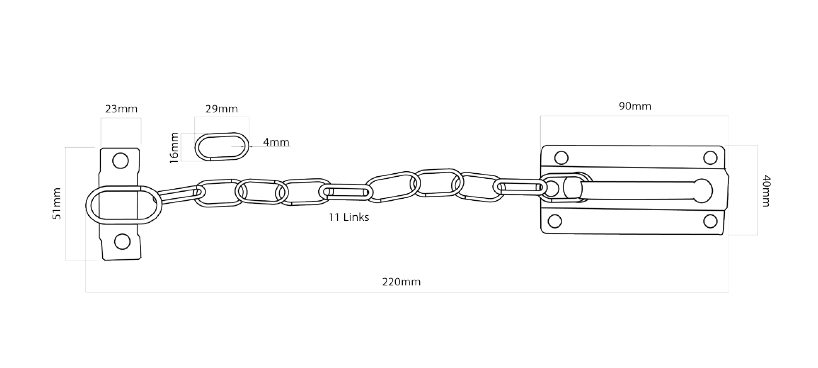
Sliding black iron door chain has 11 links. Chain whole length is 220mm from sliding plate to the fixing plate.
-
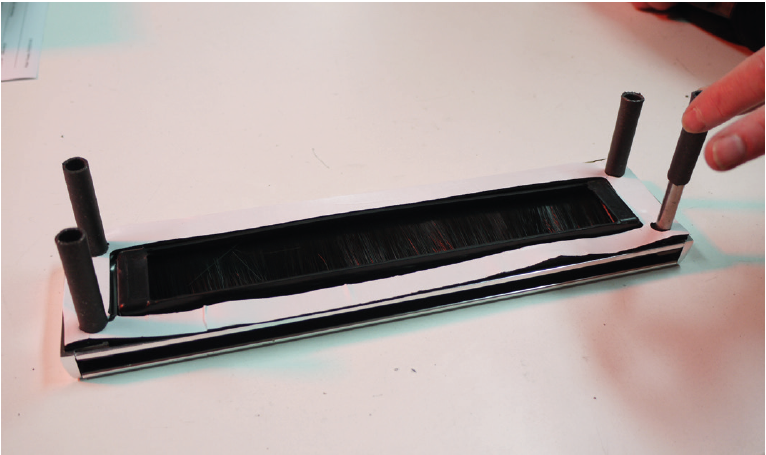
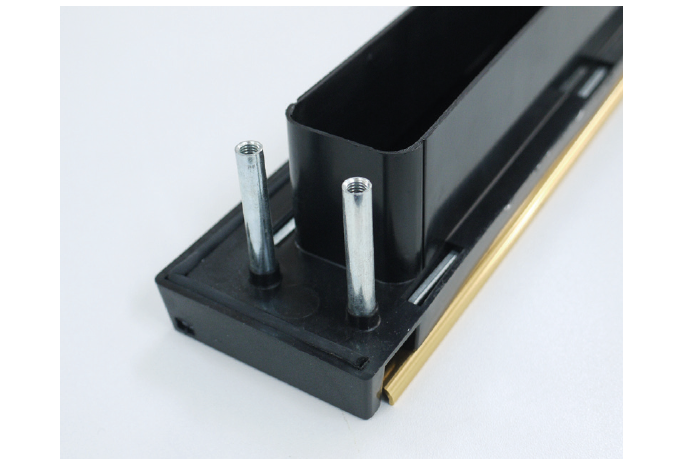
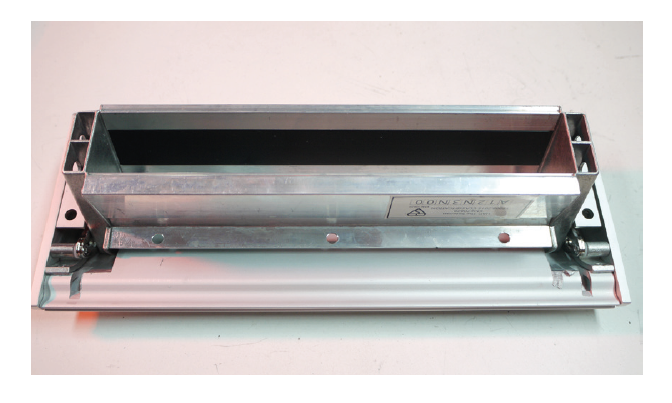
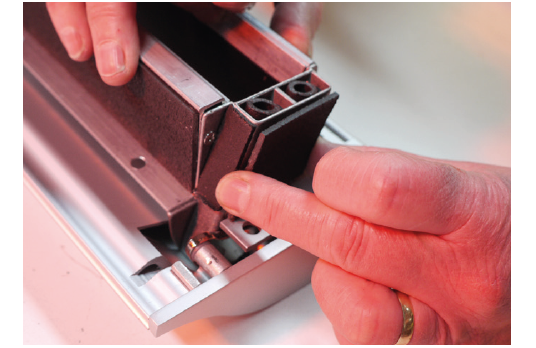
Fitting your letterbox is easy and in most cases only requires a screwdriver. Each letterbox has 2 parts – the exterior part with brushes and the interior part. We have also supplied fixing screws.
-
Take out your existing letterbox by removing the screws on the inside of the door. The letterplate will then slide out, leaving a cavity in the door.
-
Take the interior part and see if it will fit through the existing hole in the door. If it does then lift the flap and push the interior part through the door and hold it with one hand. With the door open, slide the exterior part into the door cavity and it will slot into the interior part.
-
Line up the two parts of the letterbox perfectly and then use the 2 screws supplied to secure the interior part. Use a screwdriver to tighten it up but do not use power tools to tighten up the screw.
-
Still having a problem?
-
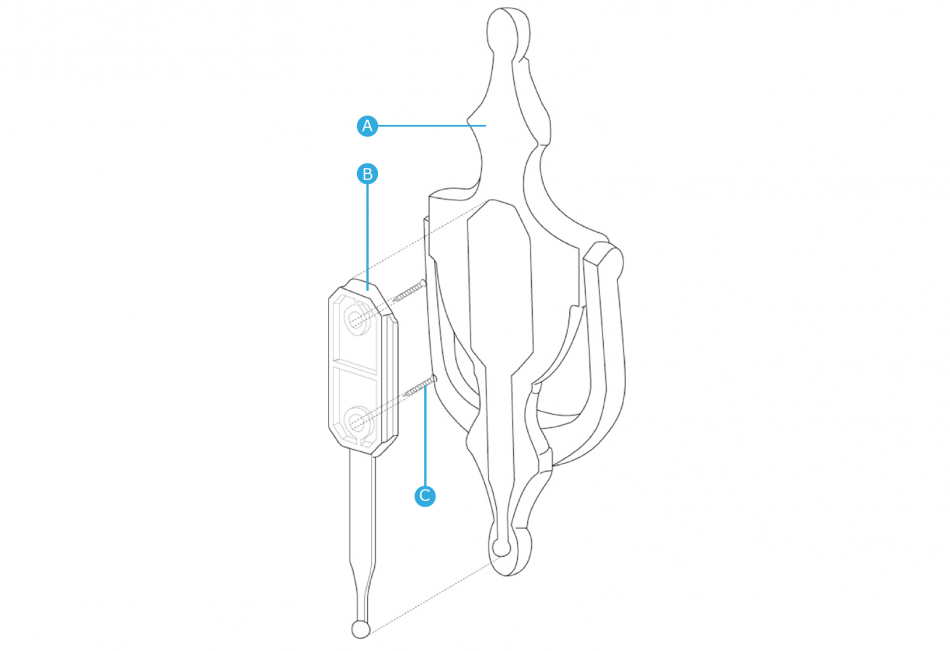
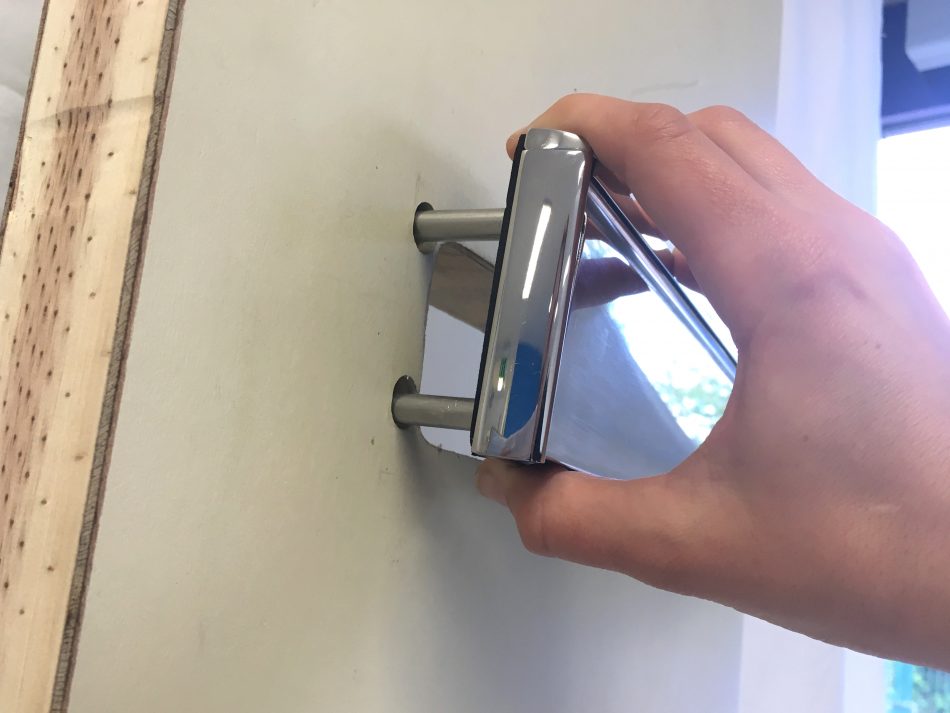
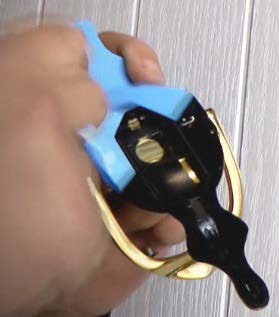
To fit the Easy Fit Door Knocker (A x 1), we have supplied a self-adhesive ‘Lollipop’ (B x 1), and through-bolts/fixing screws (C x 2).
A Easy Fit Door Knocker
B Self Adhesive ‘Lollipop’
C Through Bolts/Fixing Screws
-
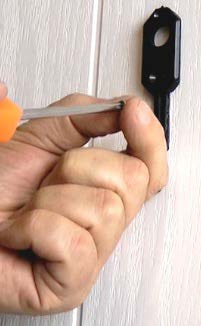
Peel off the adhesive cover from the ‘Lollipop’ and place it onto the door into position.
-
Use a screwdriver or drill to secure the through-bolts/fixing screws into the ‘Lollipop’ on the door.
* If you are also fitting a door viewer through the knocker, drill a pilot hole where the viewer hole is on the door, then change the drill bit to 12mm and drill through the door.
-
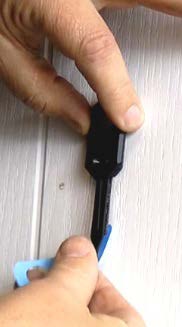
Remove the adhesive tape from the door knocker body and align it with the ‘Lollipop’.
-
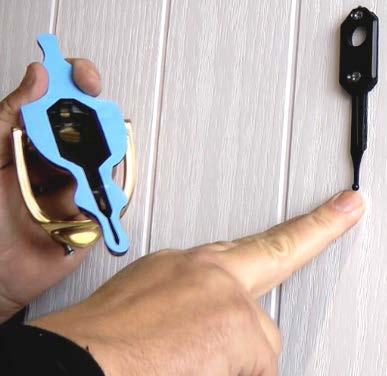
Secure the door knocker body into place over the ‘Lollipop’ by applying force with the side of your fist or a rubber mallet.
-
Leave for 24 hours to allow the adhesive to fully cure.
-
Still having a problem?
-
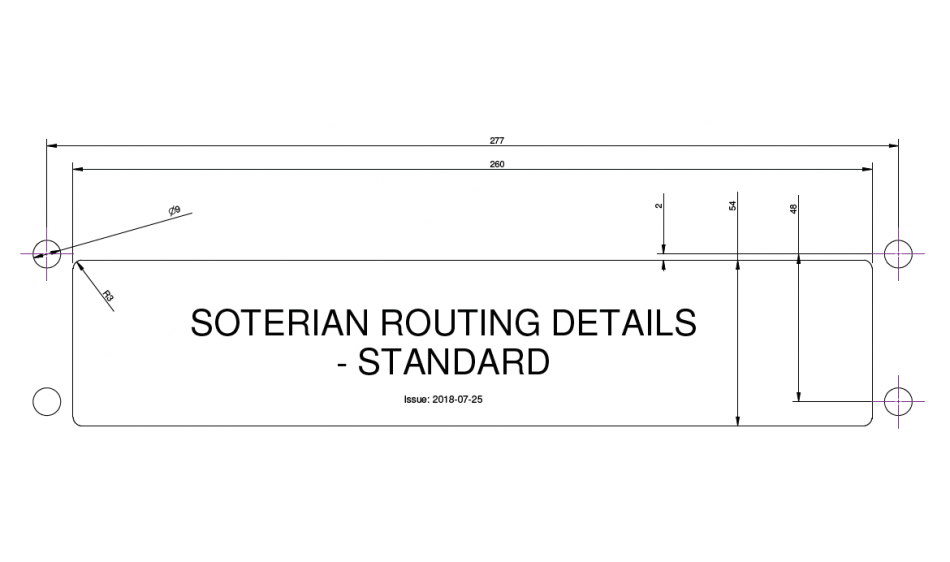
For 44mm door thickness.
For composite and timber doors.
Distance between bolts: 277mm
Cavity: 260mm x 54mm -
Still having a problem?
The KINETICA® P2T™ System was inspired by the very effective safety cap on medicine bottles.
-
To lock your door simply lift the handle, gently push the knob in and rotate it.
To unlock the door, gently push the knob in and rotate it he other way. -
Still having a problem?
-

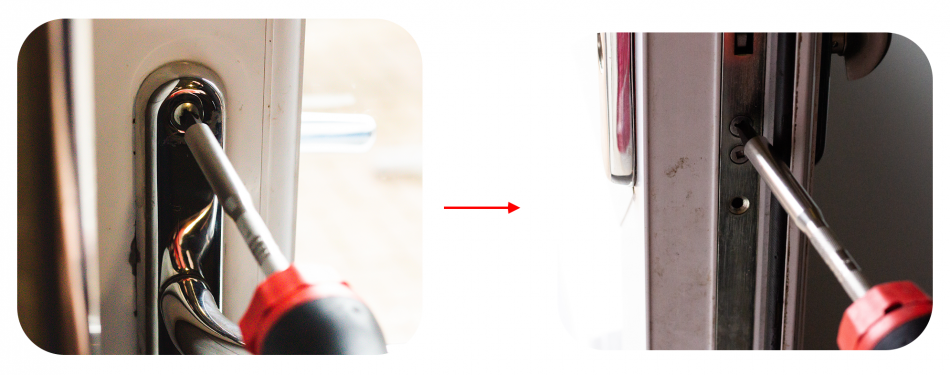
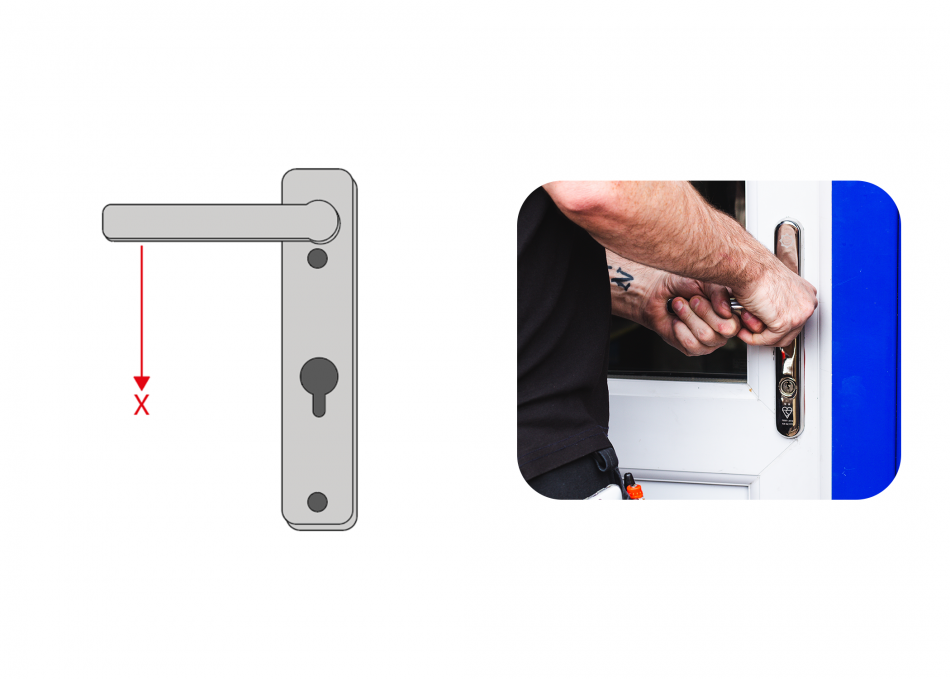
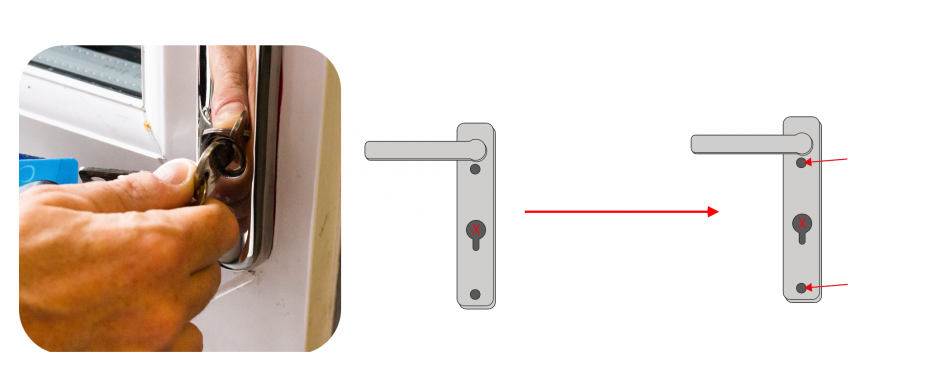
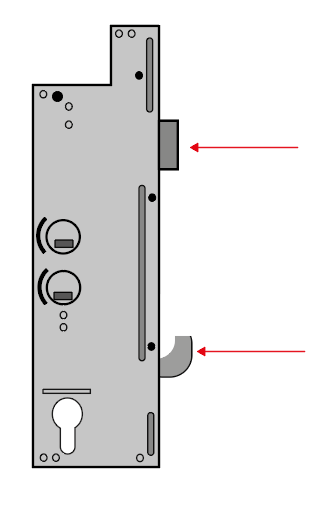
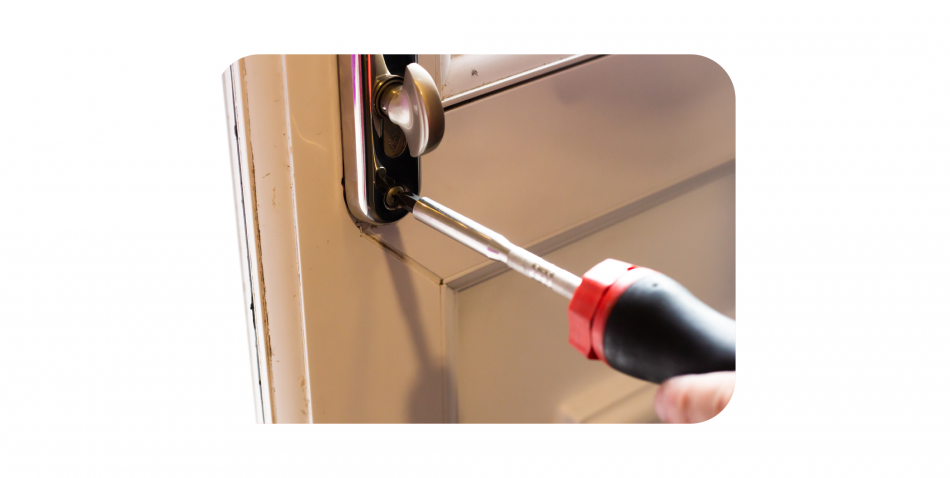
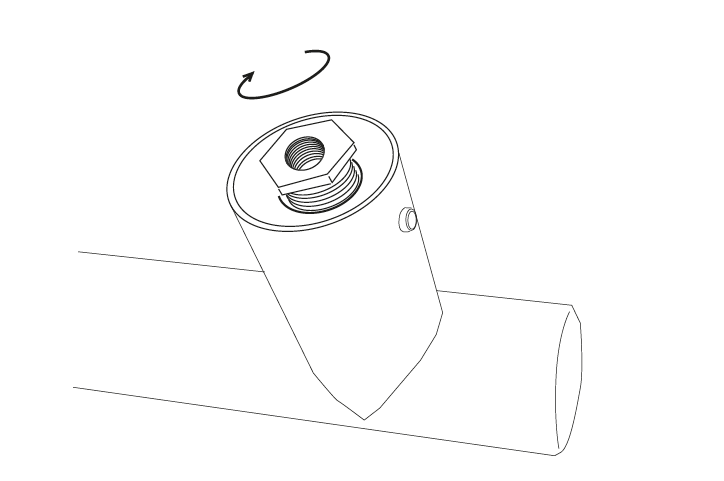
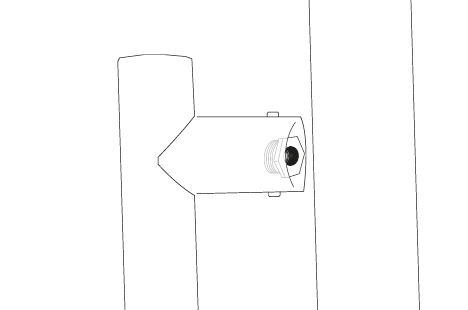
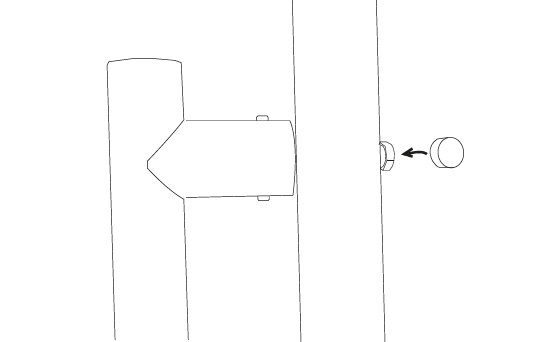
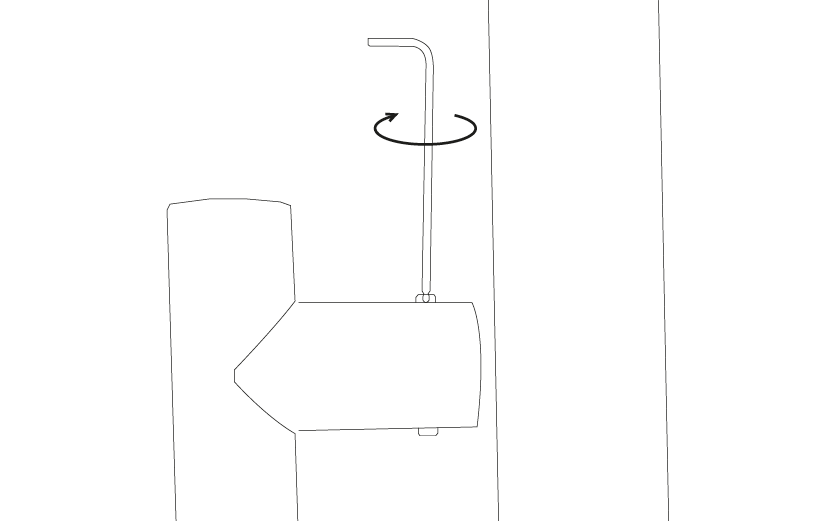
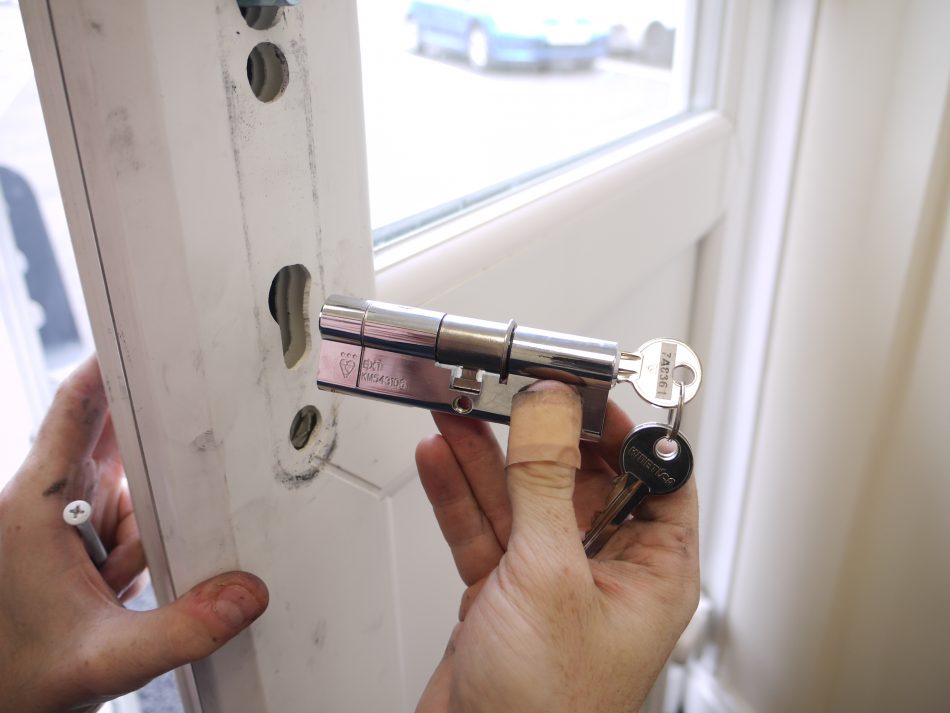
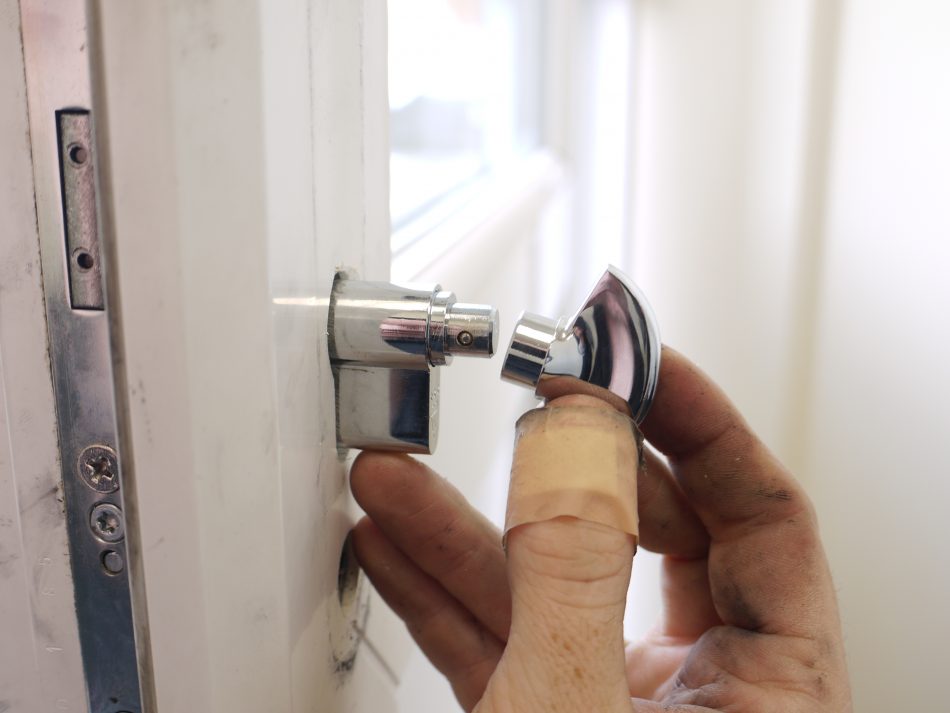
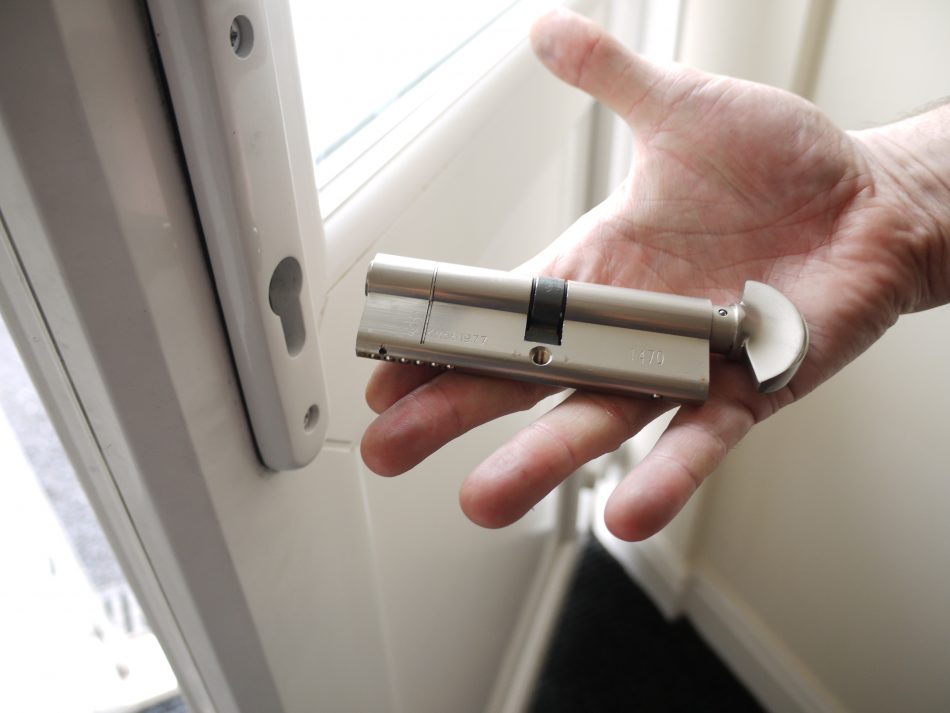
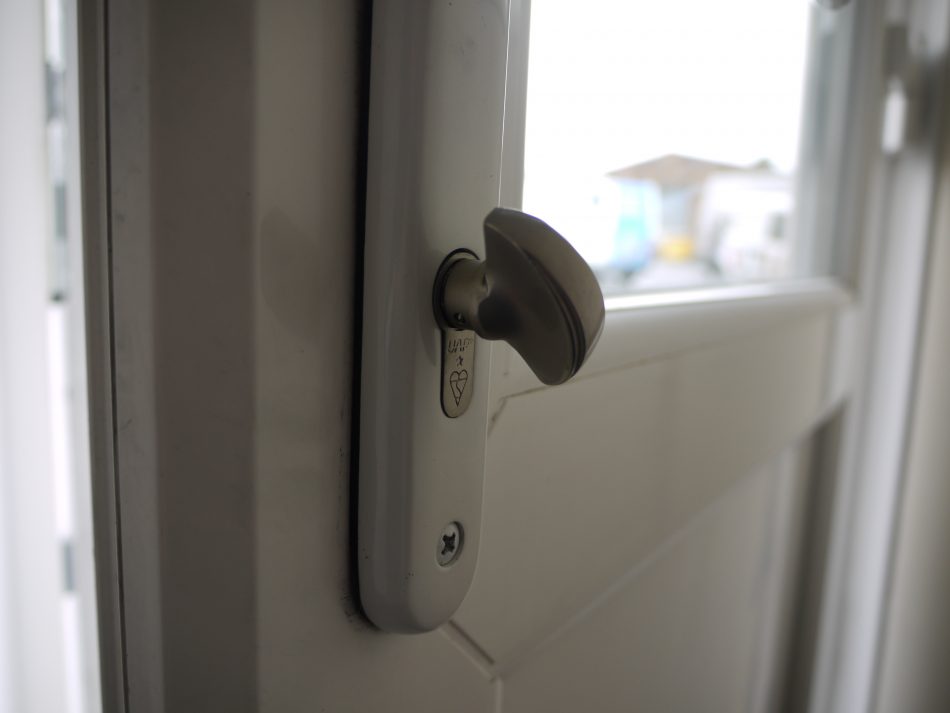
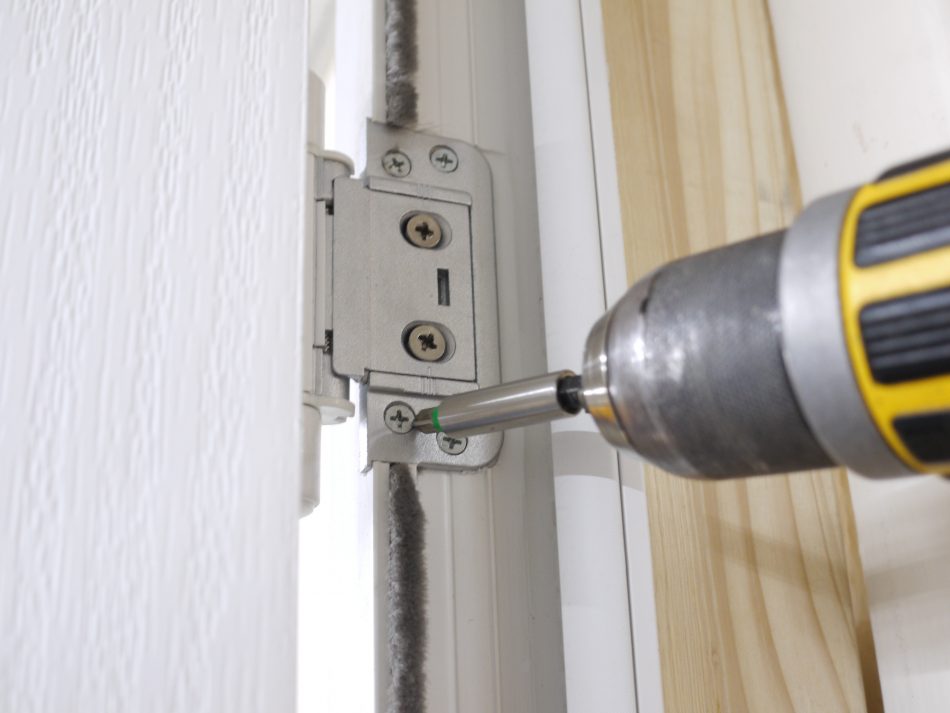
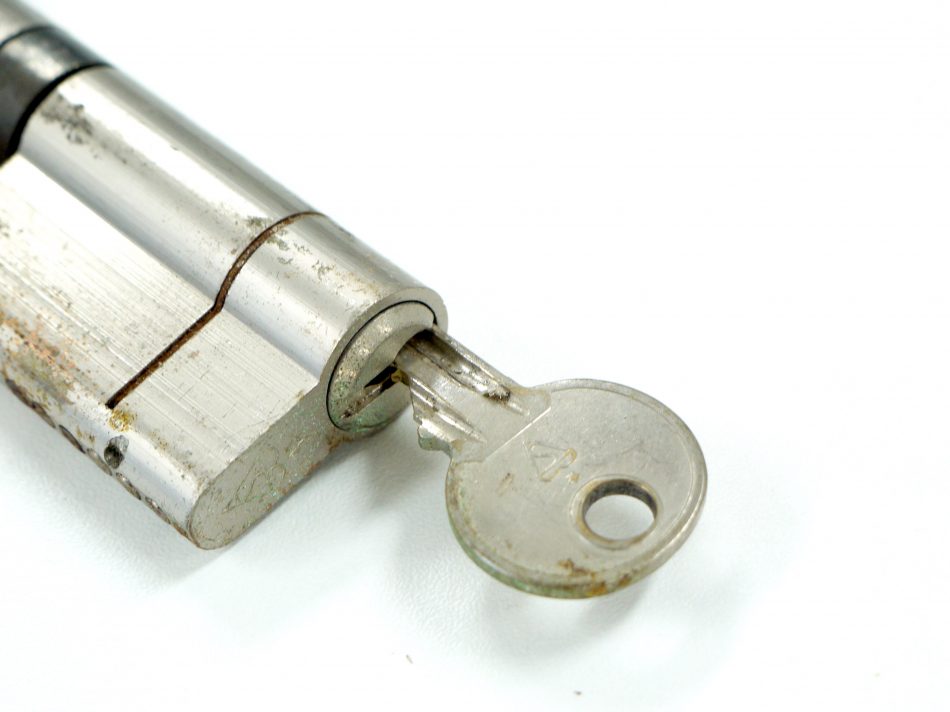
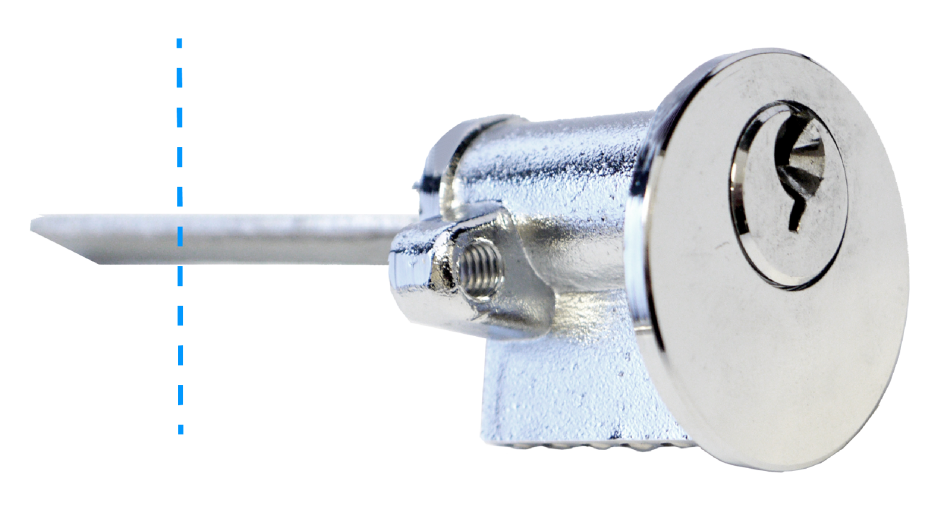
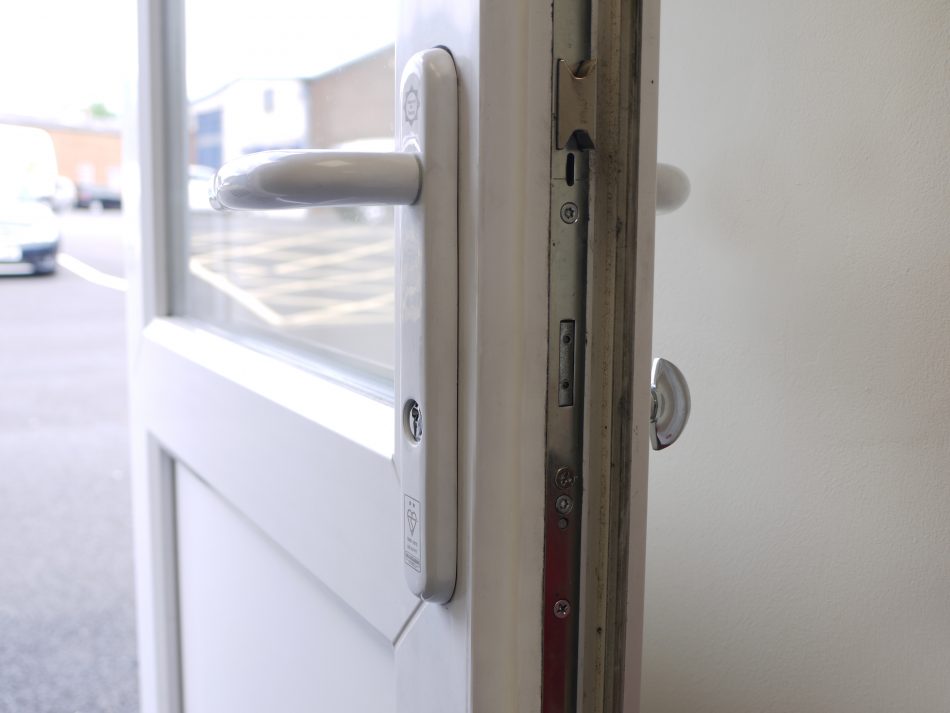
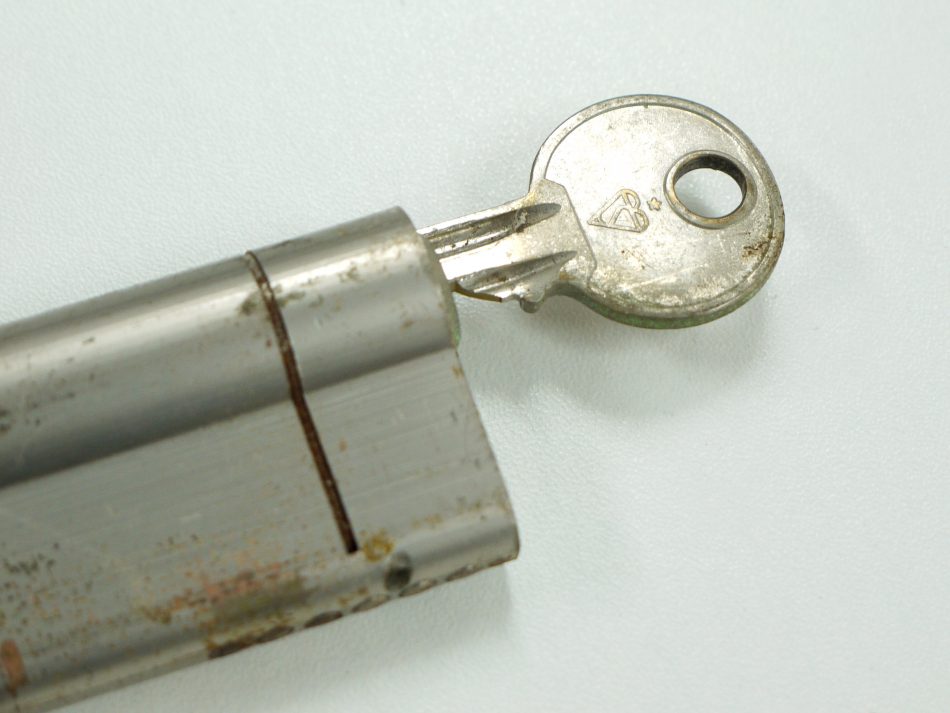
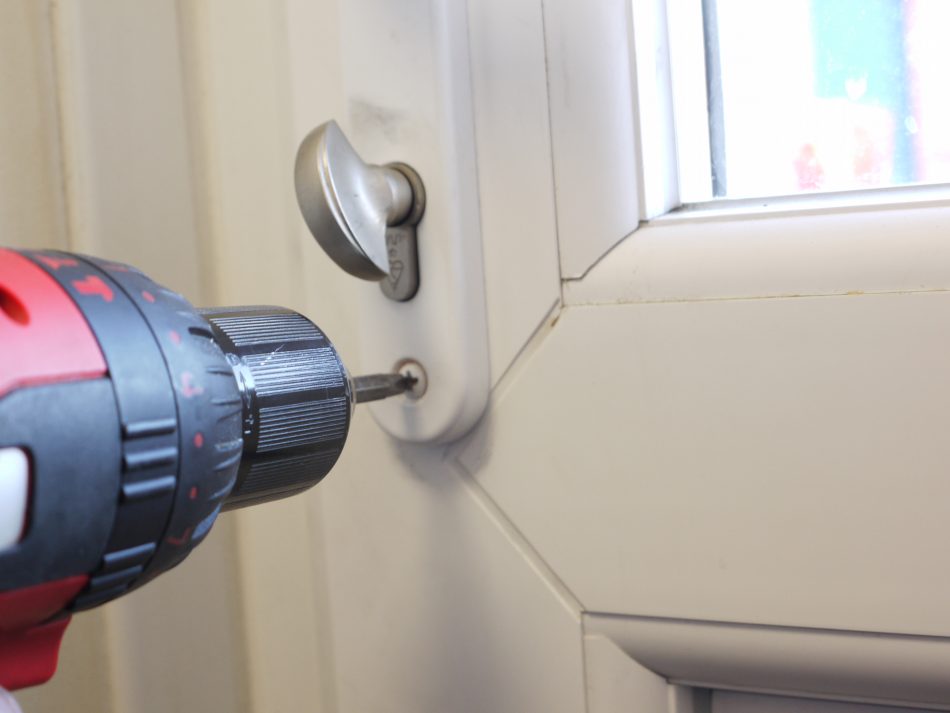
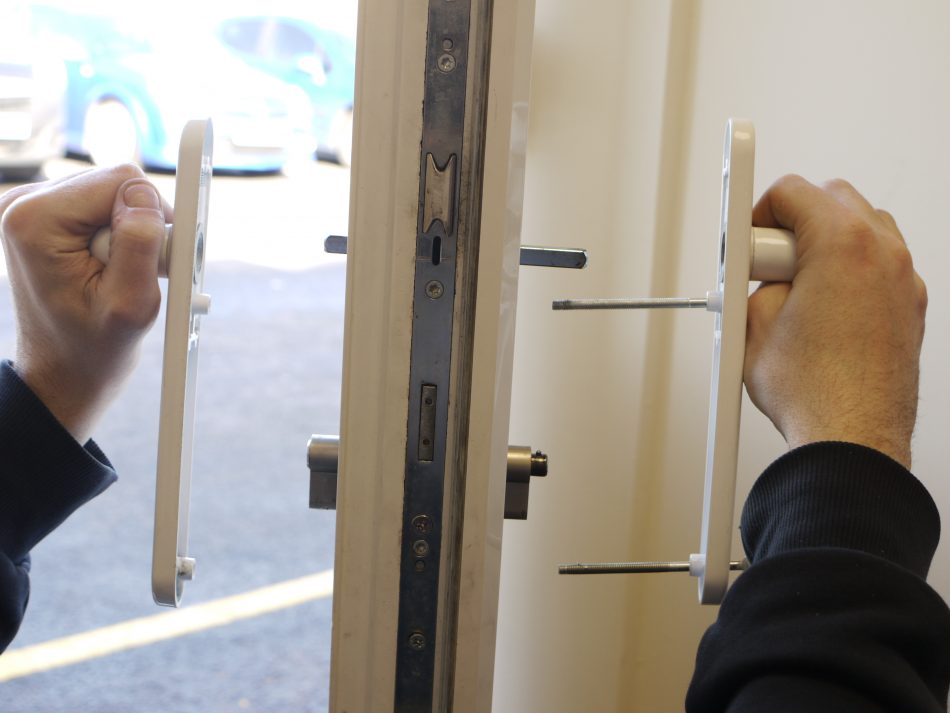
To fit your new euro cylinder first remove the current cylinder:
Remove the door handle.
Place your key into the cylinder and open your door
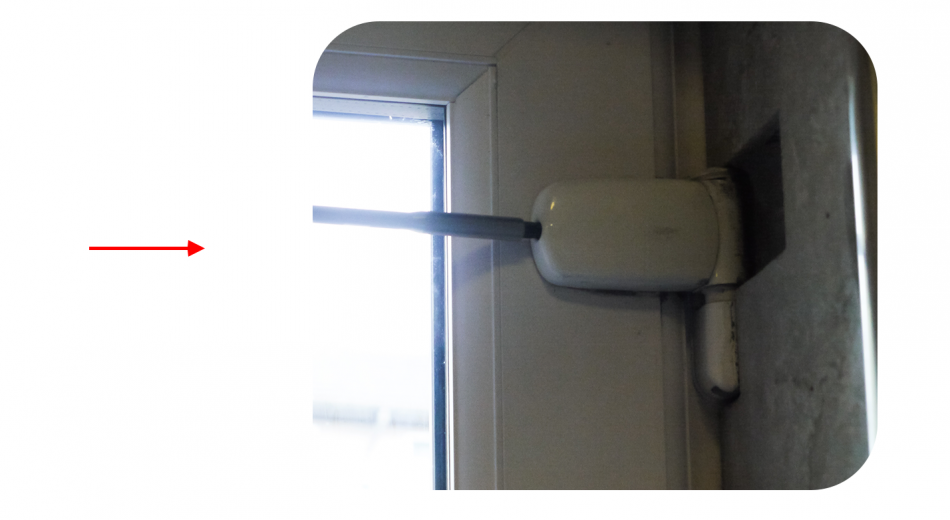
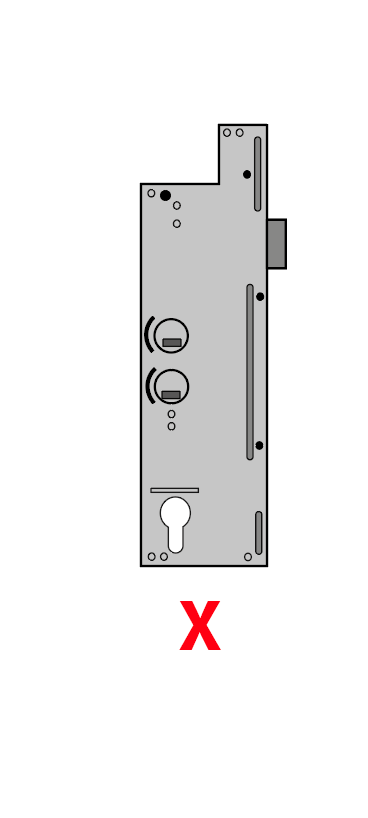
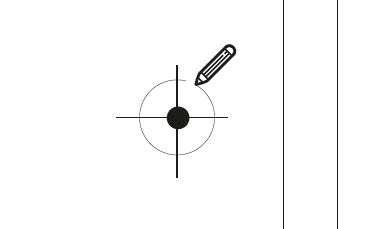
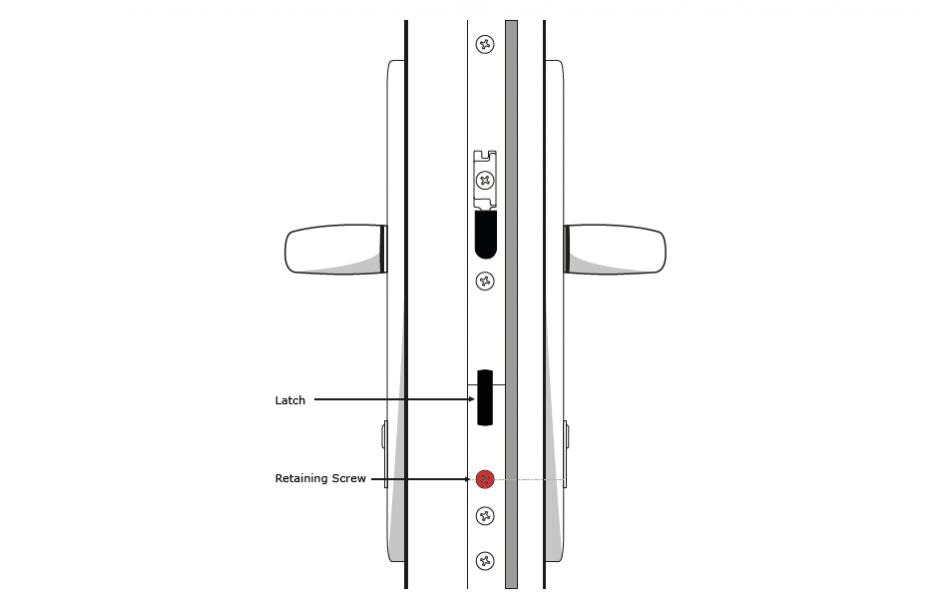
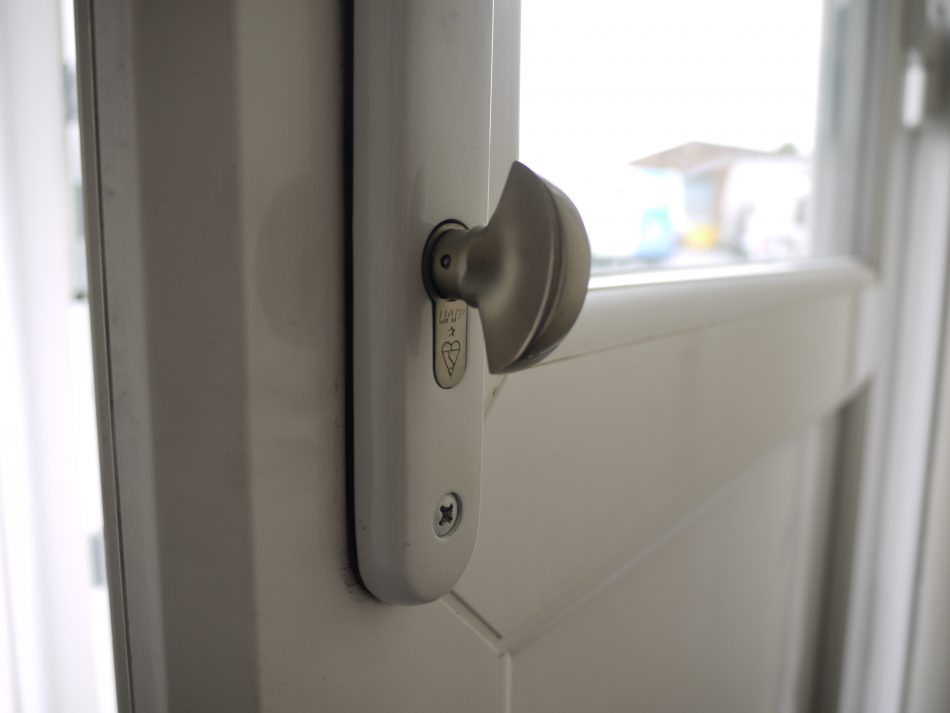
Use a screw driver to remove the retaining screw from the cylinder (located underneath the latch and in line with the cylinder – please see diagram)
-

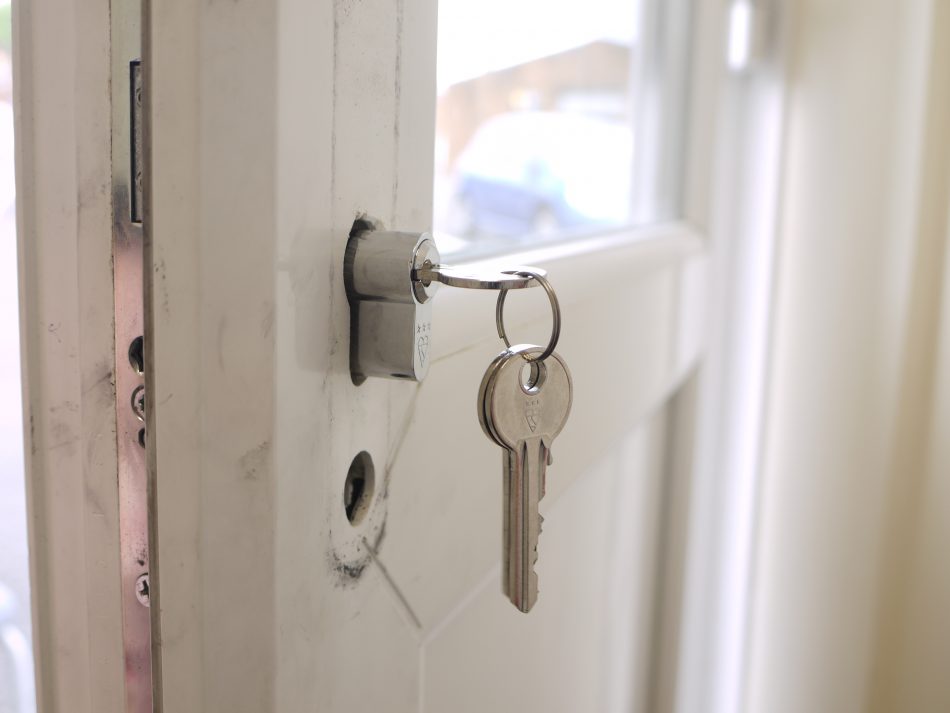
Turn the key approximately 30 degrees either clockwise or anti-clockwise (either at 10 or 2 o’clock).
Apply slight pressure to the opposite end of the cylinder so the cam (black latch in the centre of the cylinder) lines up with the cylinder body.
Slide the cylinder out of the door towards yourself.
-
Fit your new euro cylinder:
Place your new key into the new cylinder.
Turn the key approximately 30 degrees either clockwise or anti-clockwise (either at 10 or 2 o’clock) so the cam lines up with the cylinder body.
-
Slide the cylinder into the door.
Place the new retaining screw into the door’s fixing hole, and use a screw driver to tighten so it is secure.
DO NOT USE A DRILL OR SIMILAR TO TIGHTEN THE BOLT
-
Still having a problem?
-
To fit your new euro cylinder first remove the current cylinder:
Remove the door handle.
Place your key into the cylinder and open your door
Use a screw driver to remove the retaining screw from the cylinder (located underneath the latch and in line with the cylinder – please see diagram)
-
Remove a thumb turn if necessary.
Turn the key approximately 30 degrees either clockwise or anti-clockwise (either at 10 or 2 o’clock).
Apply slight pressure to the opposite end of the cylinder so the cam (black latch in the centre of the cylinder) lines up with the cylinder body.
Slide the cylinder out of the door towards yourself.
-
Fit your new euro cylinder:
Place your new key into the new cylinder.
Turn the key approximately 30 degrees either clockwise or anti-clockwise (either at 10 or 2 o’clock) so the cam lines up with the cylinder body.
-
Slide the cylinder into the door.
Place the new retaining screw into the door’s fixing hole, and use a screw driver to tighten so it is secure.
DO NOT USE A DRILL OR SIMILAR TO TIGHTEN THE BOLT
-
Still having a problem?
-

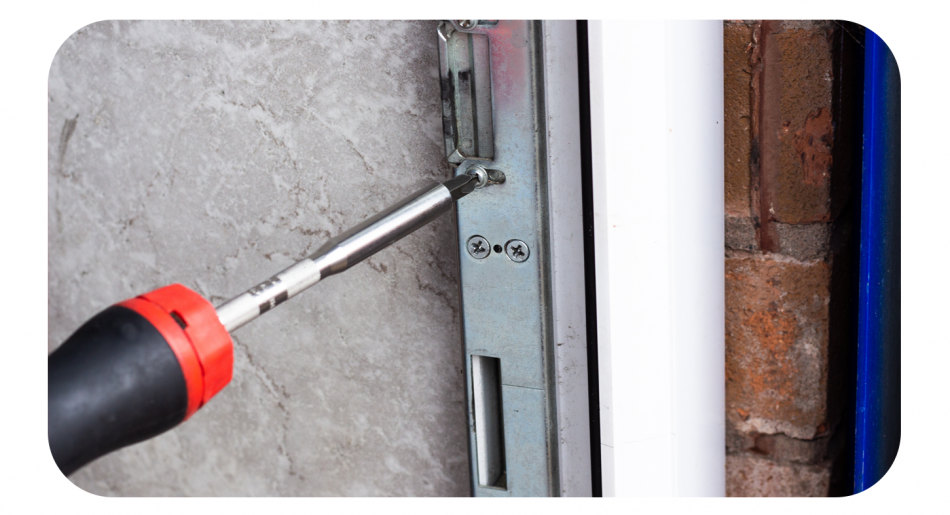
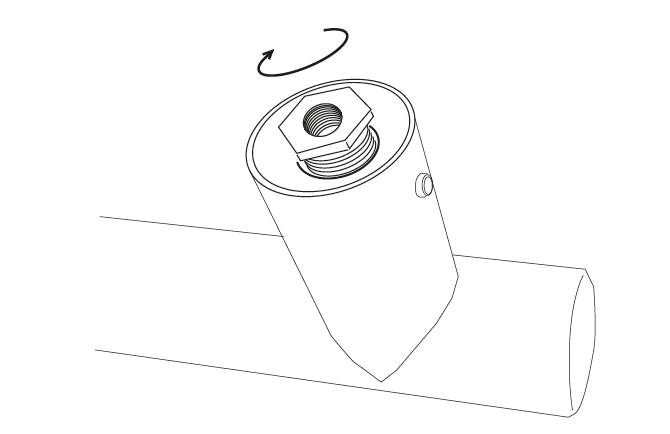
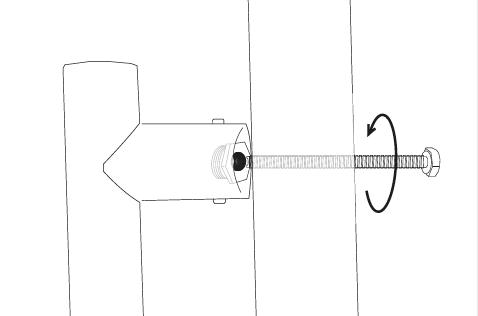
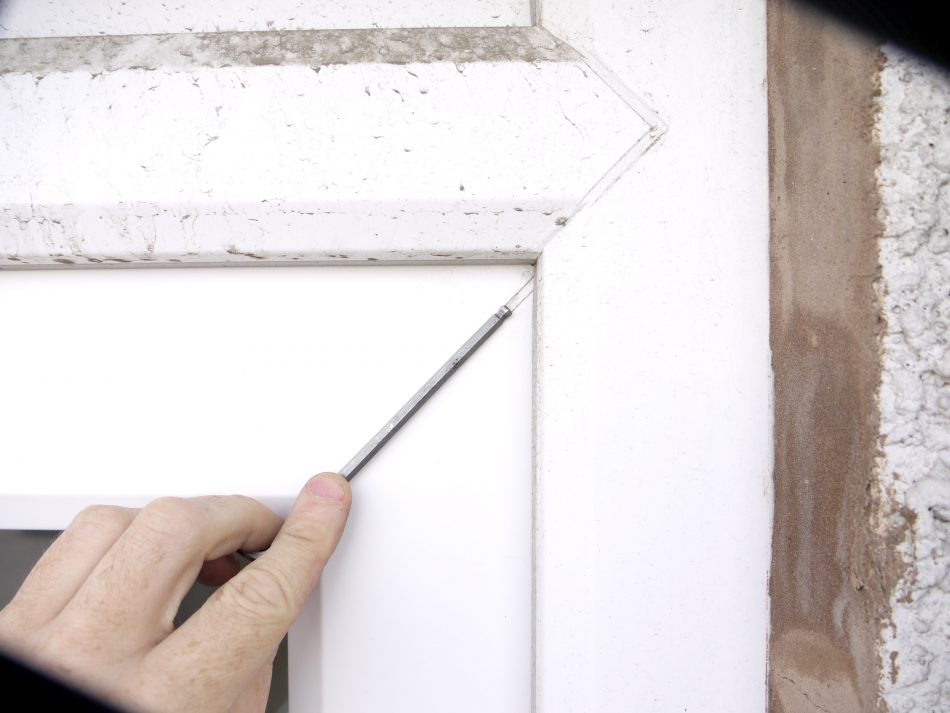
Carefully mark out the position of the cylinder on the door. It should go exactly 40mm from the edge of the door.
Drill a hole where you have marked using a 32mm drill bit; make sure you keep the drill level.
Feed the cylinder through the hole and make sure the connecting bar is the correct length – trim if not.
-
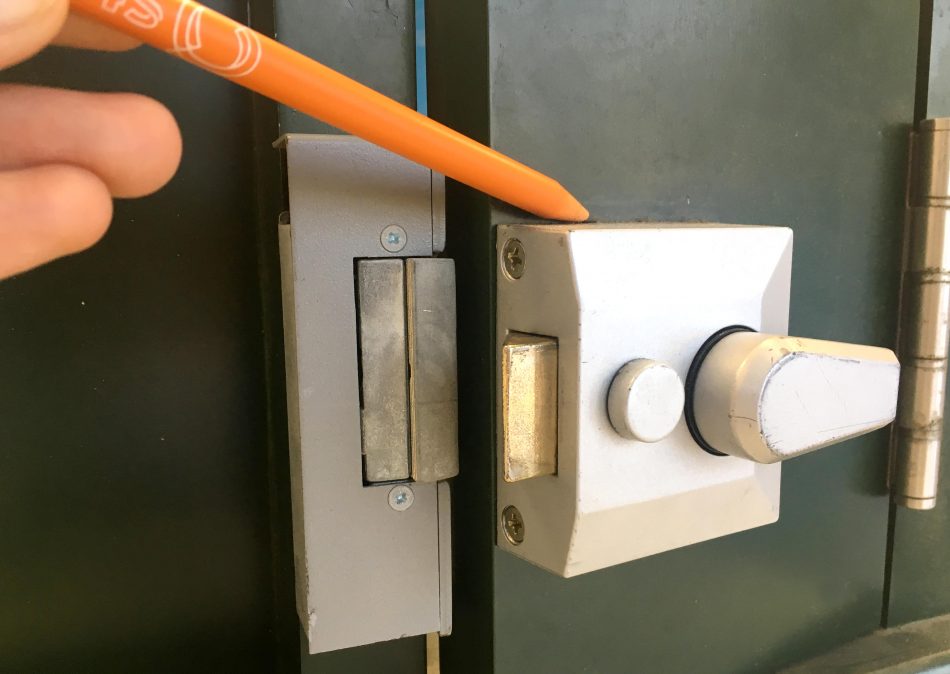
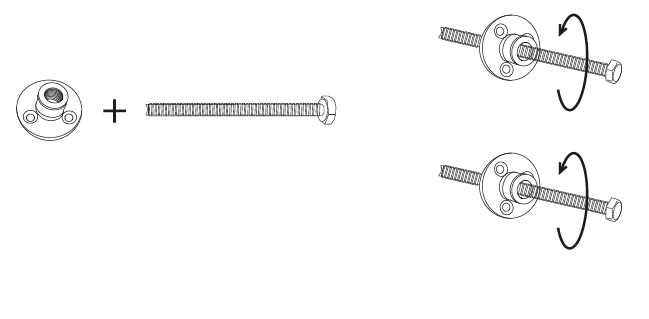
With the supplied bolts, bolt the mounting plate to the cylinder. As you tighten them, position the plate 1.5mm from the edge of the door.
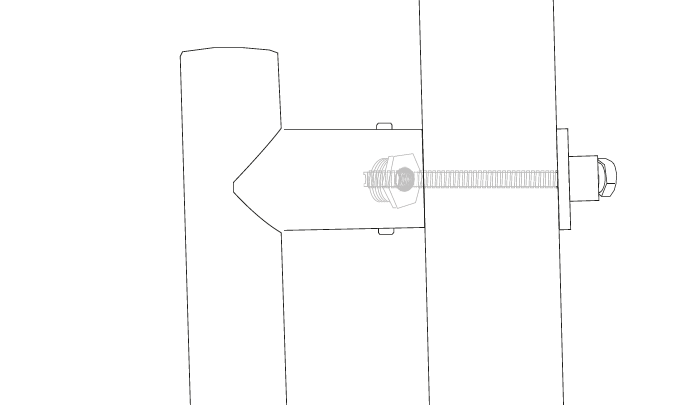
Ensure the bracket is in the right place by temporarily attaching the latch. To do this place the latch onto the bracket and locate the cylinder’s bar, putting it into the hole on the latch by a few mm. The latch should be perfectly level with the edge of the door.
Screw the bracket in place when you are happy with the position.
-
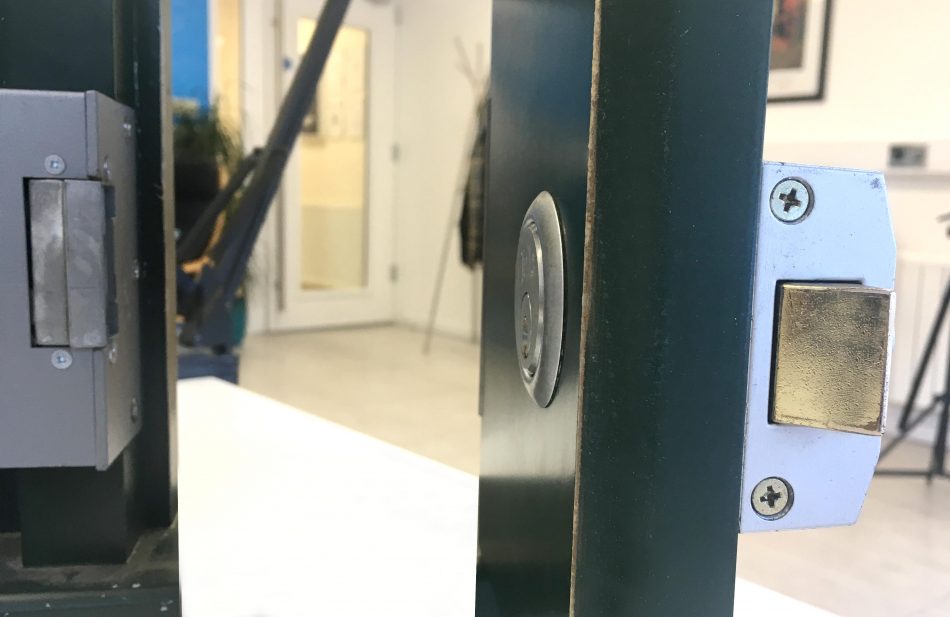
Re-attach the latch and secure it with 2 small retaining bolts.
Close the door and using the latch as your guide mark the position for the strike plate ensuring it is lined up perfectly.
The strike plate needs to be recessed into the door frame. Open the door then mark round the strike place.
Chisel out where you have marked so the strike plate sits flush with the door frame. Screw the plate down.
-
Still having a problem?
-
A warped door can cause problems with your lock.
Remove your door from the door frame on a mild to warm day using a screwdriver.
Remove the hinges from the door.
Place your door on a table or the floor.
Clean or blow off any dust.
-

If the door is painted remove it with paint remover and a heat gun.
If the door is raw wood, smooth and fill any small cracks and sand it if has been coated to remove any coating/varnish.
-
Give the whole door a coat of polyurethane or varathane sealant (including edges) and wait for it to try.
When the door is completely dry give it another coat, and repeat once more until the door has three coats.
No spots on the door must be missed – check you have sealed the hinge areas, bottom and top of door.
If you want to repaint the door, wait until the sealant is fully dry.
-

Reattached the hinges and hand the door onto the frame.
If the door sticks you will have to adjust the door jam and sill until the door hangs freely.
If the door frame is wood, seal it as you did with the door.
-
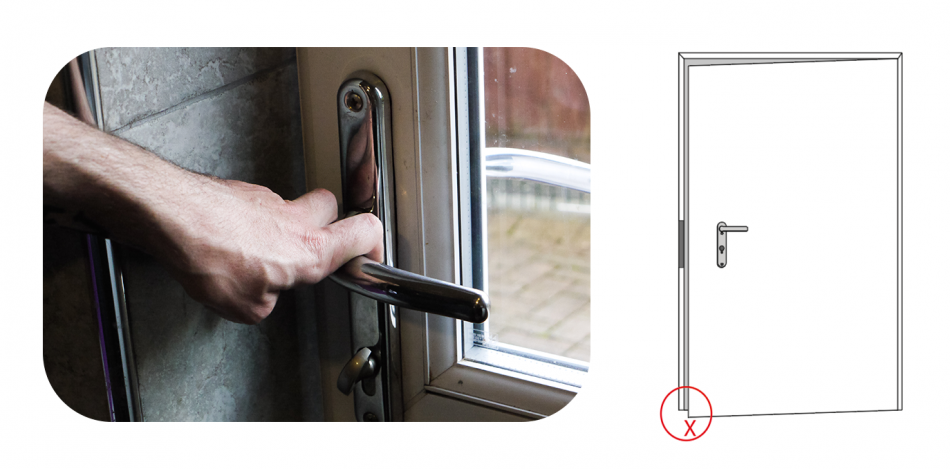
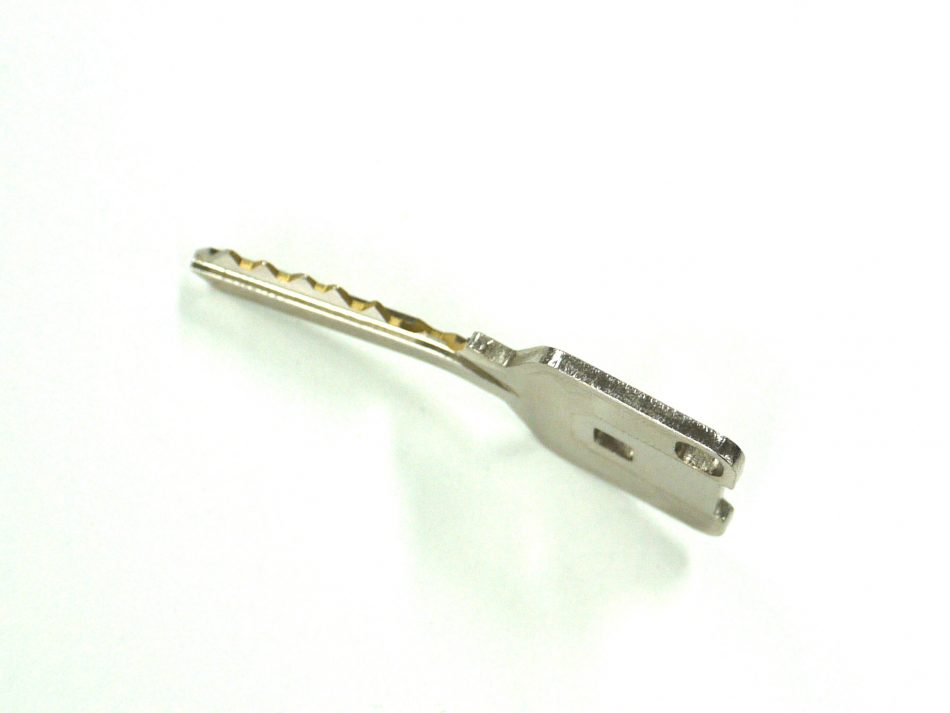
Check the key is okay e.g. you are using the right key, the key is not bent etc.
If your key is looking worn get a new one cut.
-
Check for rust.
-

Check that your lock hasn’t been tampered with e.g. glue put into it or a paperclip etc.
Check that your door hasn’t dropped or been attacked.
If there is any physical or visual damage replace your cylinder. You can order a new cylinder by contacting us or have a new one fitted by calling out a locksmith.
-

How old is your lock? If your lock is a good few years old then it may need replacing. You can order a new cylinder by contacting us or have a new one fitted by calling out a locksmith.
-
Still having a problem?
-
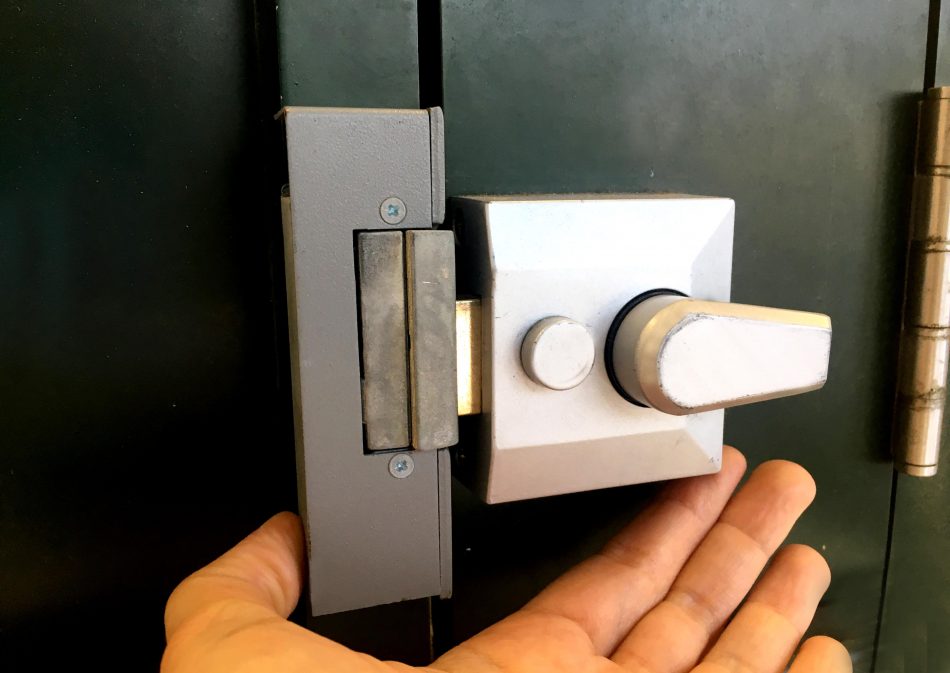
The most likely reason this will happen is either the tail on the rim cylinder hasn’t been cut down enough or every screw that holds the rim cylinder and backbox together has been over tightened , there is a possibility that it may simply not be lined up correctly too(the cylinder and backbox).
-
Still having a problem?
-
This is most likely to be a component in the backbox , most likely a spring that has failed and the backbox will need replacing.
-
Still having a problem?
-
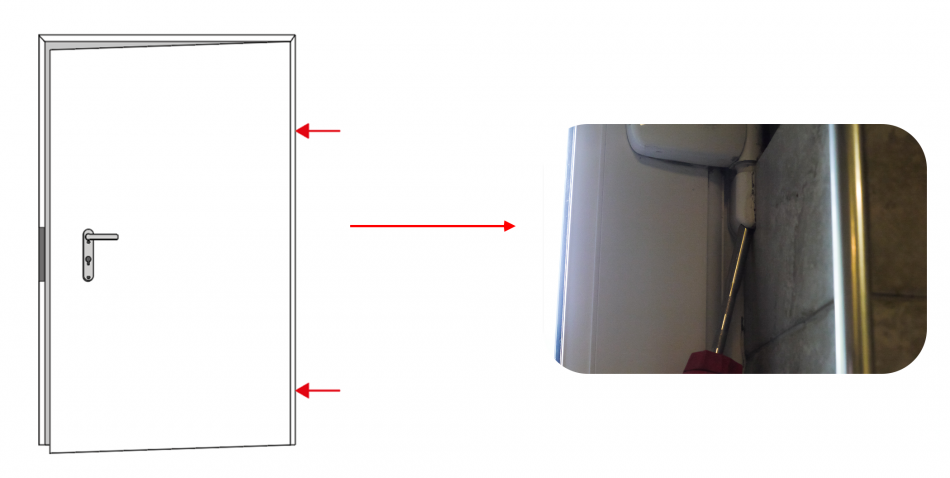
This could be a simple couple of issues, first of all check the hinges haven’t dropped or come loose.
-

Next would be to check the strike plate of the lock has been fitted correctly and the screws that hold it on the frame are flush.
-
Thirdly check the backbox is flush with the door and not angled, finally have a look to see if the door has warped.
-
Still having a problem?
-

If the latch keeps locking its self then it is most likely that the snib keeps dropping in which case you will need a new back box, if this was to happen whilst you were out then unless you have a back door to gain entry or other means then you will need a locksmith.
-
Still having a problem?
-
An overhanging cylinder means the incorrect size lock has been fitted. The more of a cylinder that is accessible, the more vulnerable it is to snapping.
To measure what size cylinder you should have you can use a cylinder gauge.
-
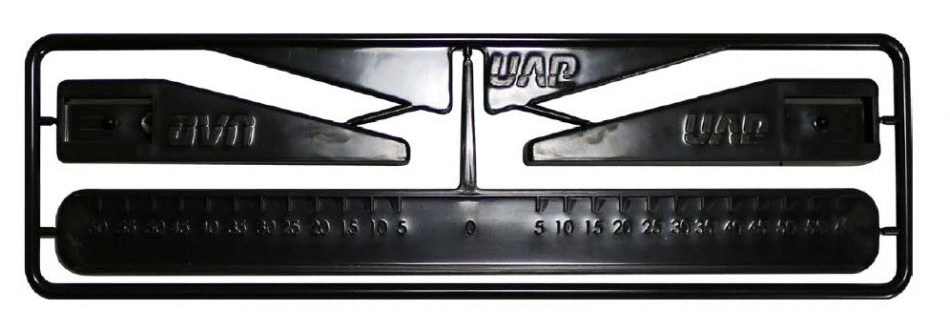
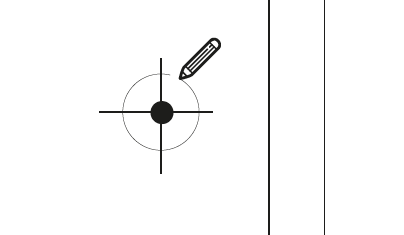
This lock measurer is extremely easy to use and it is very similar to an airfix model. In order to use this tool,
you just need to follow a few simple steps:
-
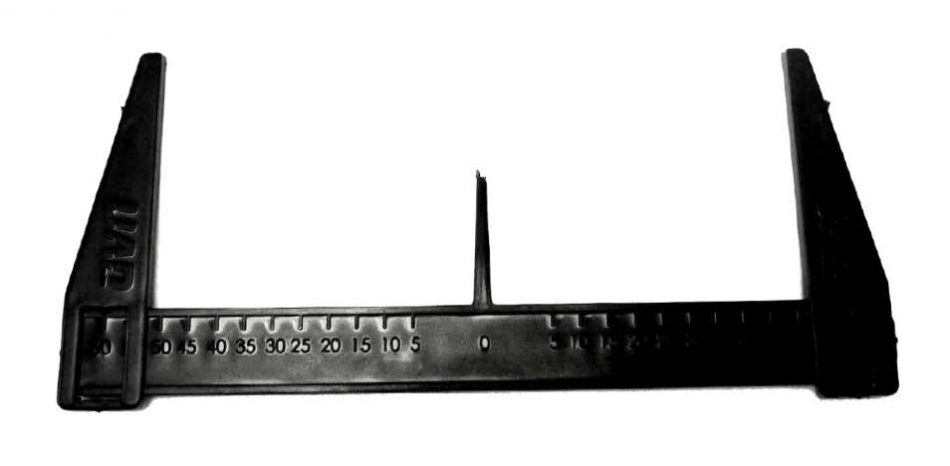
Remove the piece from the frame to assemble the Gauge.
Attach the two arms to the ´ruler´ strip.
-
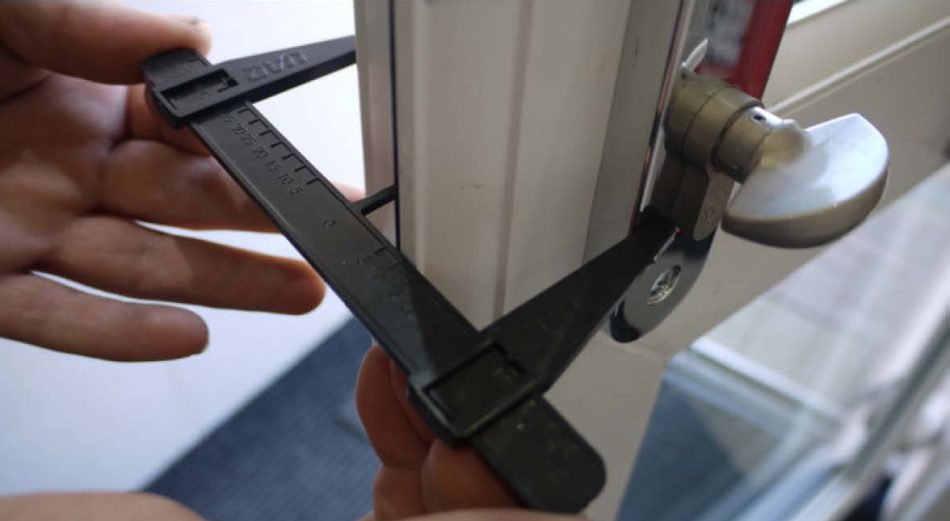
Place the centre point of the Gauge into the fixing hole of the door (beneath the latch)
Slide the arms on either side to the ends of the door handle (do not measure to the end of the cylinder, as it might not currently be the right size)
Read the Gauge to ascertain the precise size cylinder you need to replace, e.g. If the Gauge reads left to centre 35mm and centre to right 50mm, then you need a 85 mm overall, 35/50 cylinder (or a 30-10-45).
-
Still having a problem?
-
Your key may have been cut on an incorrect blank.
-
Check that your key is okay e.g. you are using the right key, it isn’t bent or twisted, there are no fracture, it isn’t worn etc.
-
Check that there isn’t a key in the other side of the lock as this will cause your key to catch.
-
Your lock may need lubricating.
Try applying a lubricant like GT85 down the side of the key or inside or your lock.
-

It’s either time to change your lock because of its age or you have a faulty lock fitted.
You can order a new cylinder by contacting us or have a new one fitted by calling out a locksmith.
-
Still having a problem?
-
Check if your cylinder works fine when removed from the lock body.
If it works fine out of the lock body it may have been fitted at an angle or the screws are too tight.
-
If the key is turning perfectly but the CAM isn’t engaging the lock then you could be using a copied key that doesn’t quite reach the end of the core.
-
If your key is in the upside down position when the door is locked then your CAM has slipped out of position and your cylinder needs replacing.
You can order a new cylinder by contacting us or have a new one fitted by calling out a locksmith.
-
Still having a problem?
-
What to do if your thumbturn won’t work.
-
Still having a problem?
-
If your thumbturn feels stuck it may simply need a bit of pressure applied to it.
If you can feel a touch of resistance then use a touch of lubricant – this should resolve the issue.
-
Still having a problem?
-
Is the key in the other side of the lock?
-
Try loosening the handle screws.
If the door handles have been screwed in too tightly it will affect the whole function of the lock and the door.
-
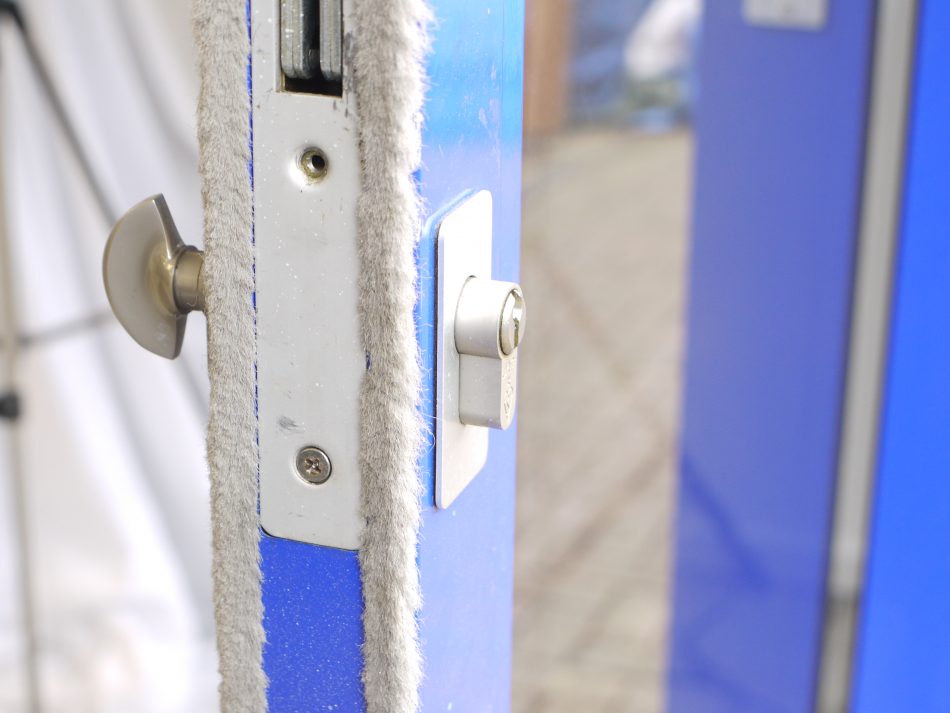
Check that the cylinder has been fitted level and not on an angle.
-
Take your cylinder out and see if everything moves freely.
If it does there is an obstruction in the door.
-
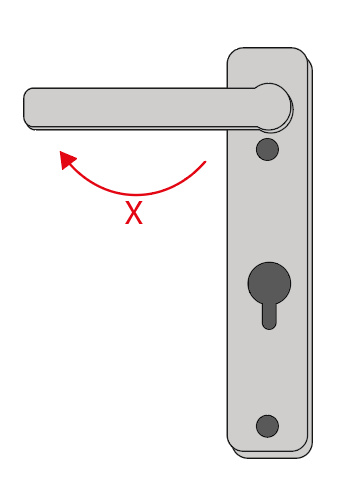
Does the door handle lift up ok?
If not the door will need adjusting on the hinges.
The best way to check this is to pull the handle up and lock the door whilst it is open.
-
If everything is fine your lock will need changing.
-
Still having a problem?
-

Check that you are using the right key.
Check the key isn’t bent as this will stop it from going into the lock.
Copied keys can sometime be cut incorrectly and make your lock difficult to unlock.
-
Over time a lock can be affected by the weather. This could cause a general stiffness or there may be rust inside of your lock.
Over time your key can gather bits of dirt and fabric from your pockets etc. This in turn can create bits inside the lock which can jam the pins inside.
Get a lubricant (GT85) and spray the lock inside whilst inserting your key in and out multiple times to flush your lock.
-
There is a chance that a spring or pin in your lock has jammed up or broken.
If you have tried everything else and your key is still not working we advise calling a locksmith to remove your cylinder.
-
Still having a problem?
To prevent rust locks should be sprayed with a lubricant (GT85) at least once every three months to prevent weather damage.
-
Check that you are using the right key.
Check the key isn’t bent as this will stop it from going into the lock.
Copied keys can sometime be cut incorrectly and make your lock difficult to unlock.
-
Over time a lock can be affected by the weather. This could cause a general stiffness or there may be rust inside of your lock.
Over time your key can gather bits of dirt and fabric from your pockets etc. This in turn can create bits inside the lock which can jam the pins inside.
Get a lubricant (GT85) and spray the lock inside whilst inserting your key in and out multiple times to flush your lock.
-
Try loosening the screws on your handle.
Over tightened screws can cause the cylinder to not work properly.
-
Still having a problem?
To prevent rust locks should be sprayed with a lubricant (GT85) at least once every three months to prevent weather damage.
Often your lock will need a squirt of a silicone based oil to keep it functioning well (don’t use WD40).
This can be the best way of avoiding the key getting stuck in the lock and it’s a good practice to carry out.
-
If your key does get stuck in your lock try applying a lubricant like GT85 down the side of the key or the other side of the lock if you can.
This may loosen it up.
-
The circlips may have worn down.
Apply a little bit of pressure to the cylinder core whilst trying to withdraw the key.
The CAM may have become misaligned.
Take off the door handle and remove the cylinder by removing all the retaining screws and then refitting everything.
Screw in the handle first and the cylinder last, checking that the CAM can move freely before tightening the screw.
Try not to overtighten the screws as this can cause twisting of the cylinder.
-
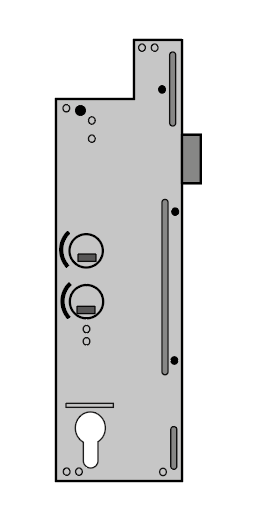
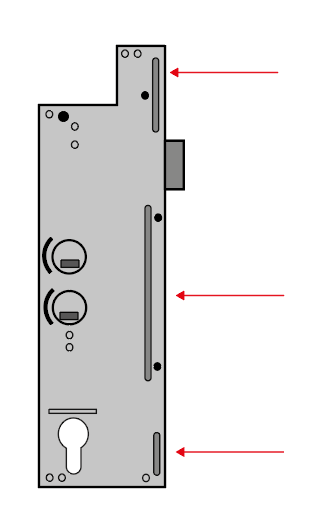
If the CAM is misaligned there could be a problem being caused by your multipoint lock.
Check the hooks and latches move freely when the door is open. Check that the hooks move freely into the jams.
If the door has sagged this can also cause a problem and you may need to seek the help of a locksmith at this stage.
-
Still having a problem?
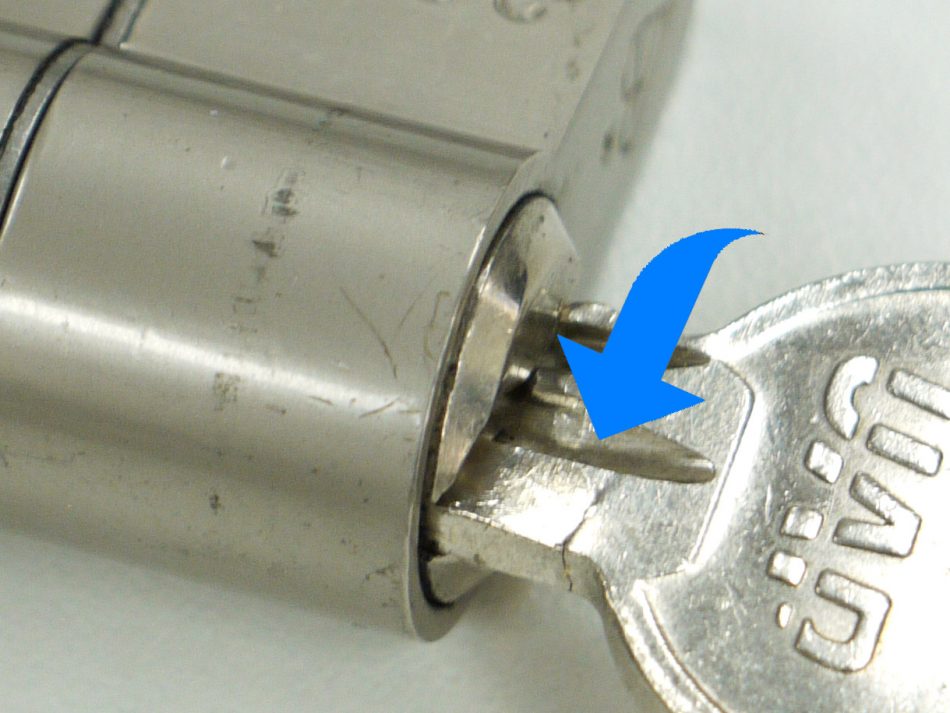
If your key looks tired or damaged it is time to get a new one cut. Brass can be quite soft and your key could easily break in the lock if it has started to crack.
If the worst happens and your key has broken inside the keyway you can try and fix the problem yourself.
-
Often the lock can still be turned with the other end of the key. If you can do this then you can remove the cylinder from the lock and simply replace the cylinder.
Remove the retaining screw and turn the cylinder until you can pull it out.
-

Sometimes the key can be lodged so far into the keyway that it cannot be removed so easily.
If you can get a thin Allen key down the keyway from the other side you can then try and push the broken key out and re-use the cylinder.
-
If unsuccessful you can remove the door handle and try snapping the cylinder from the inside using mole grips.
You should then be able to use a flat head screwdriver to manipulate the CAM to push the cylinder out (after you have removed the retaining screw).
If you have a high security cylinder or one that has a sacrificial cut we would not recommend this technique. It will be best to get a locksmith to remove it.
-
Still having a problem?